deliciousness Falafel Pita with Salad Mix Sprouts & Tahini Sauce

I like falafel.  It just so happened that I had soaked and cooked a couple pounds of garbanzo beans to make the multi bean salad and hummus, and had more left.  I also have plenty of tahini (used to make hummus, among other things), so what’s a girl to do?

Make a Falafel Pita with Salad Mix Sprouts & Tahini Sauce, of course

Let me say, I don’t claim a lot of authenticity here. I just know what are the typical flavor profiles and I go from there. I also like to form them into flat patties instead of small balls, which is the traditional shape. I often buy my falafel mix in the bulk section of my grocery, but I had the softened cooked beans, so why not. I don’t think falafel usually needs cooked beans, just soaked until soft, but this worked.

pita

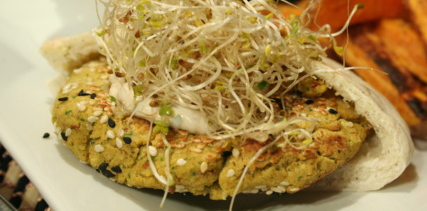
So this is a little colorless. Make it more exciting with some tomatoes or roasted red peppers! But I like the basic flavors =)

1 C. cooked Chickpeas
½ C. fresh Parsley. Stems removed
Small handful Cilantro, stems removed
½ small-medium Onion, rough chopped
4 cloves Garlic, peeled
Salt to Taste
½ T. each Pepper, Cumin, Coriander
Cayenne Pepper, to taste, optional
Pinch of Cardamom, optional
Oil, for Frying
¼ tsp. Baking Powder
1 T. Sesame Seeds
Flour, optional
Egg, optional

Process the herbs in food processor until finely chopped. Add onions and pulse until well chopped. Add chickpeas, garlic and spices. Run for 30 seconds, scrape down sides and repeat until all is well combine and the mixture is smooth. Transfer to a container with a lid, cover tightly and refrigerate an hour to overnight. When ready to fry, heat your oil to 350 in a heavy bottomed skillet. I do about ½ – ¾ inch in cast iron. I think if you are doing thicker ball shapes, you might need a deeper oil. Using wet hands, form falafel into oval patties, at most about ½ inch thick – they should be a good size for your pita, to fit with a little room for the toppings, but not so small you don’t get falafel in most bites. If your falafel “dough” doesn’t come together well you can add up to a tablespoon of flour (if it’s too wet) or a lightly beaten egg (if it’s too dry) so the patty will hold its shape. Even without the additions, when its right, the patties will be delicate. If you can shape them and move them into the oil, they will tighten up as they cook. Carefully place your patty in the hot oil. Cook until a deep golden brown on the outside, flipping once. This takes mine about 3 minutes per side. The center should be cooked all the way through, so check your first patty and adjust heat up or down to get that nice brown without burning, and still cooked through. (You can bake these on a lined cookie sheet at 350 for 15-20 minutes, but they don’t have the same yum crunch). Transfer your cooked patties to a plate lined with paper towels or brown paper grocery bags to drain.

For Sandwich:

Pita Bread, cut in half
Sprouts (I used my French Garden Mix)
Tahini Sauce (recipe below) or Hummus
Optional: sliced Cucumbers, Tomatoes, Arugula, Roasted Red Peppers, Sour Cream

Stuff your falafel, sauce and sprouts into the half pita.  Add any extras, such as additional veggies or a dollop of sour cream and yum out.

Tahini Sauce

½ C. tahini paste
2-3 T. plus more, if necessary, fresh lemon juice
1 small clove garlic, minced
¼ – ½ C. water, as needed
¼ -1/2 tsp. salt

Tahini Sauce: Make the sauce by combining the tahini paste, lemon juice, and garlic in a bowl and stirring to combine. Add the water a little at a time as needed to form a smooth, creamy sauce approximately the thickness of heavy cream. (Note that the sauce might appear to separate for a bit before enough water has been added; just keep adding more water bit by bit and stirring until the sauce comes together.) Season to taste with salt and more lemon juice, if necessary. Transfer to a nonreactive container and refrigerate until ready to serve the falafel.

I think this would be fairly adaptable to LTS.  I’ve got some large containers of dried herbs, onions and garlic ordered.  I’m going to test out making this without fresh herbs and garlic.

The final measure

In the end, I got about 12 cups of sprouts from my 1/4 salad mix seeds.

img_1419

A nice dressing for these sprouts is:

1/4 cup minced onion (I used scallion, from my CSA box)
1/2 cup tomatoes, seeded and diced (I used a late harvest heirloom tomato)
2 tablespoons chopped fresh herb (I used basil, but you could use almost any)
Juice of 1/2 lemon
2 tablespoons of red wine vinegar (rice wine vinegar would be nice too I think, or mirin.  A more mild vinegar anyway; I think cider or balsamic would overwhelm the delicate sprout flavor)
1/3 cup olive oil
Salt and freshly ground pepper to taste

I whisked all the liquids together, added the seasonings, whisked again, then mixed in the onion and tomatoes.  I don’t like plain sprout salad, but I put my dressed sprouts on a bed of other greens (arugula is a good with my seed mix, which has arugula sprouts, but whatever works).  I had some more avocado and added a few slices.  Nice, light, healthy and tasty salad.

FYI, the PeakFresh bag my sprouts are in is awesome.  I got mine from sproutpeople although I’m sure there are other sources, and likely less expensive.  I’ve been using them about a month now.  The produce in my CSA box comes loose, and I bag it up in these, and I’ve been very impressed with the longevity of the produce it provides. They somehow move the ethylene gas out of the bag slowing down the ripening (aging) process.

Eat the fruits of your labor

Seeds sprouted in my Easy sprouter aren’t as green as I would like, but perfectly edible.  Would certainly be a quick, easy and low maintenance way to get some fresh food into your diet if the SHTF and you’re surviving on LTS.

In the meantime, after my experiment, I need to eat some of these sprouts up.  Little quarter cup of my mix has resulted in several cups of sprouts.

This morning I threw in a couple extra eggs while scrambling them for the kids’ breakfast.  Then I topped mine with a big handful of sprouts and a small green zebra tomato, cut into slices, then cut in half to make half circles.

I think I’ll pick up some goat cheese so I can make a yumm-o omelette.

Sprout & Avocado Omelette

6 eggs
1⁄2 cup heavy whipping cream
1 avocado (ripe, peeled and sliced into strips)
1⁄2 cup sprouts (delicate salad mix type)
3 ounces goat cheese (thinly siced or crumbled)
4 tablespoons butter or ghee

In a mixing bowl, whisk eggs and cream. Add salt and pepper to taste. Heat 4 tablespoons of butter in a large skillet over medium heat. Pour in the egg mixture.  When the egg mixture is half way through cooking, spread the goat cheese on one half of the omelet, and spread the slice avocado on top of the goat cheese, and on top of the goat cheese, spread the sprouts. (I don’t love avocado cooked myself, I’d rather add them at the end). Flip the ungarnished half of the omelet over the half with the ingredients, and continue cooking to your liking.  Cut the omelet in half and serve.

My black thumb and I

The pea shoots look terrible. Pretty sure it’s just density and it’s not that I can’t grow something.  I hope anyway.  I wonder if pea seeds of different varieties can be different enough sizes that mine are that much larger than the video I watched.

I also wonder now that I’m having crowding issues — when he did 1 1/2 cups for a 10×20 tray if that was measured after soaking, which would make a big difference.  Obviously I didn’t think so, but I just can’t account for the discrepancy otherwise .

Even my new batch seem like they will be too crowded again.  And that was 1/2 cup before soaking for 10×10.

img_4480 img_4482

My sprouts look and taste good.

img_4479
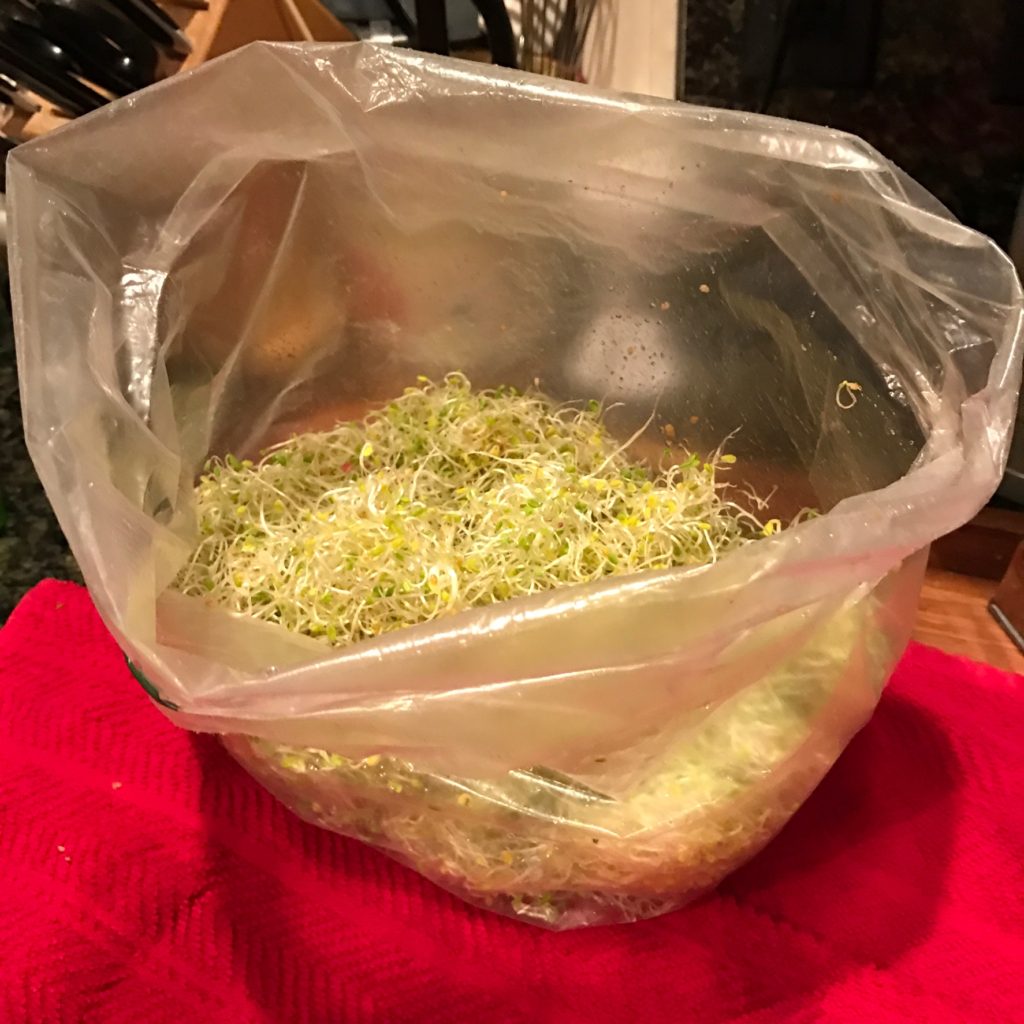
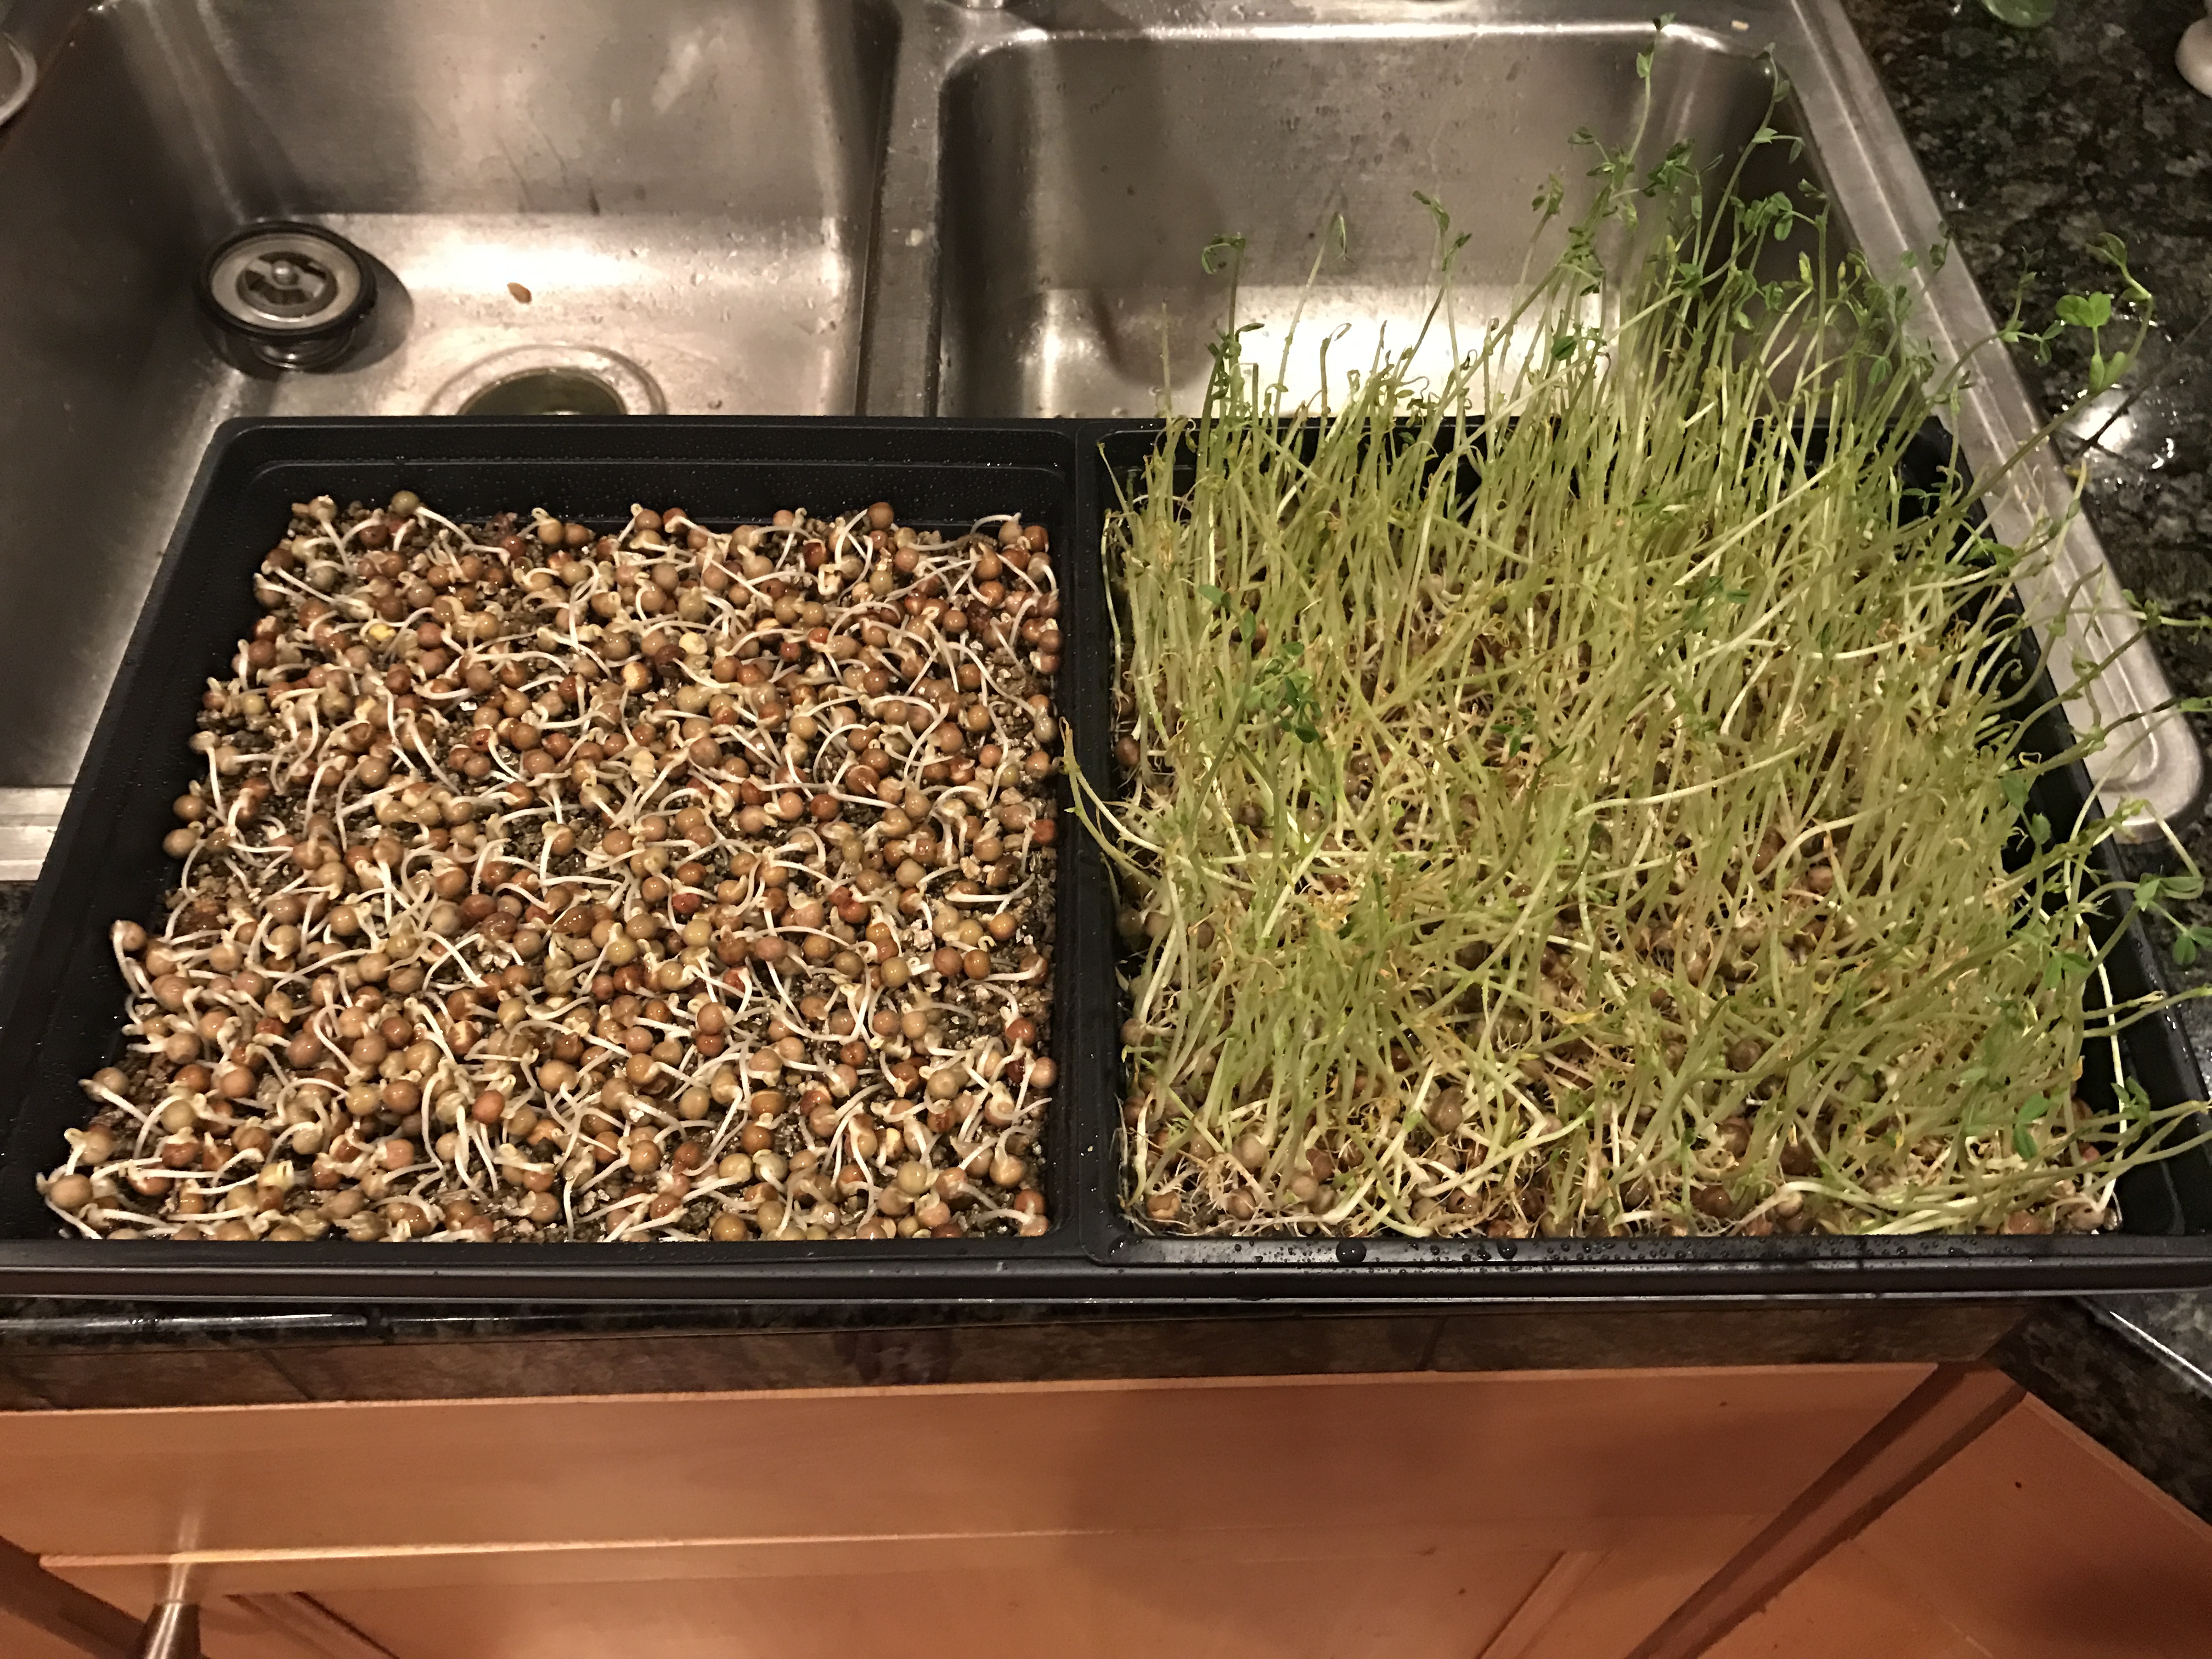
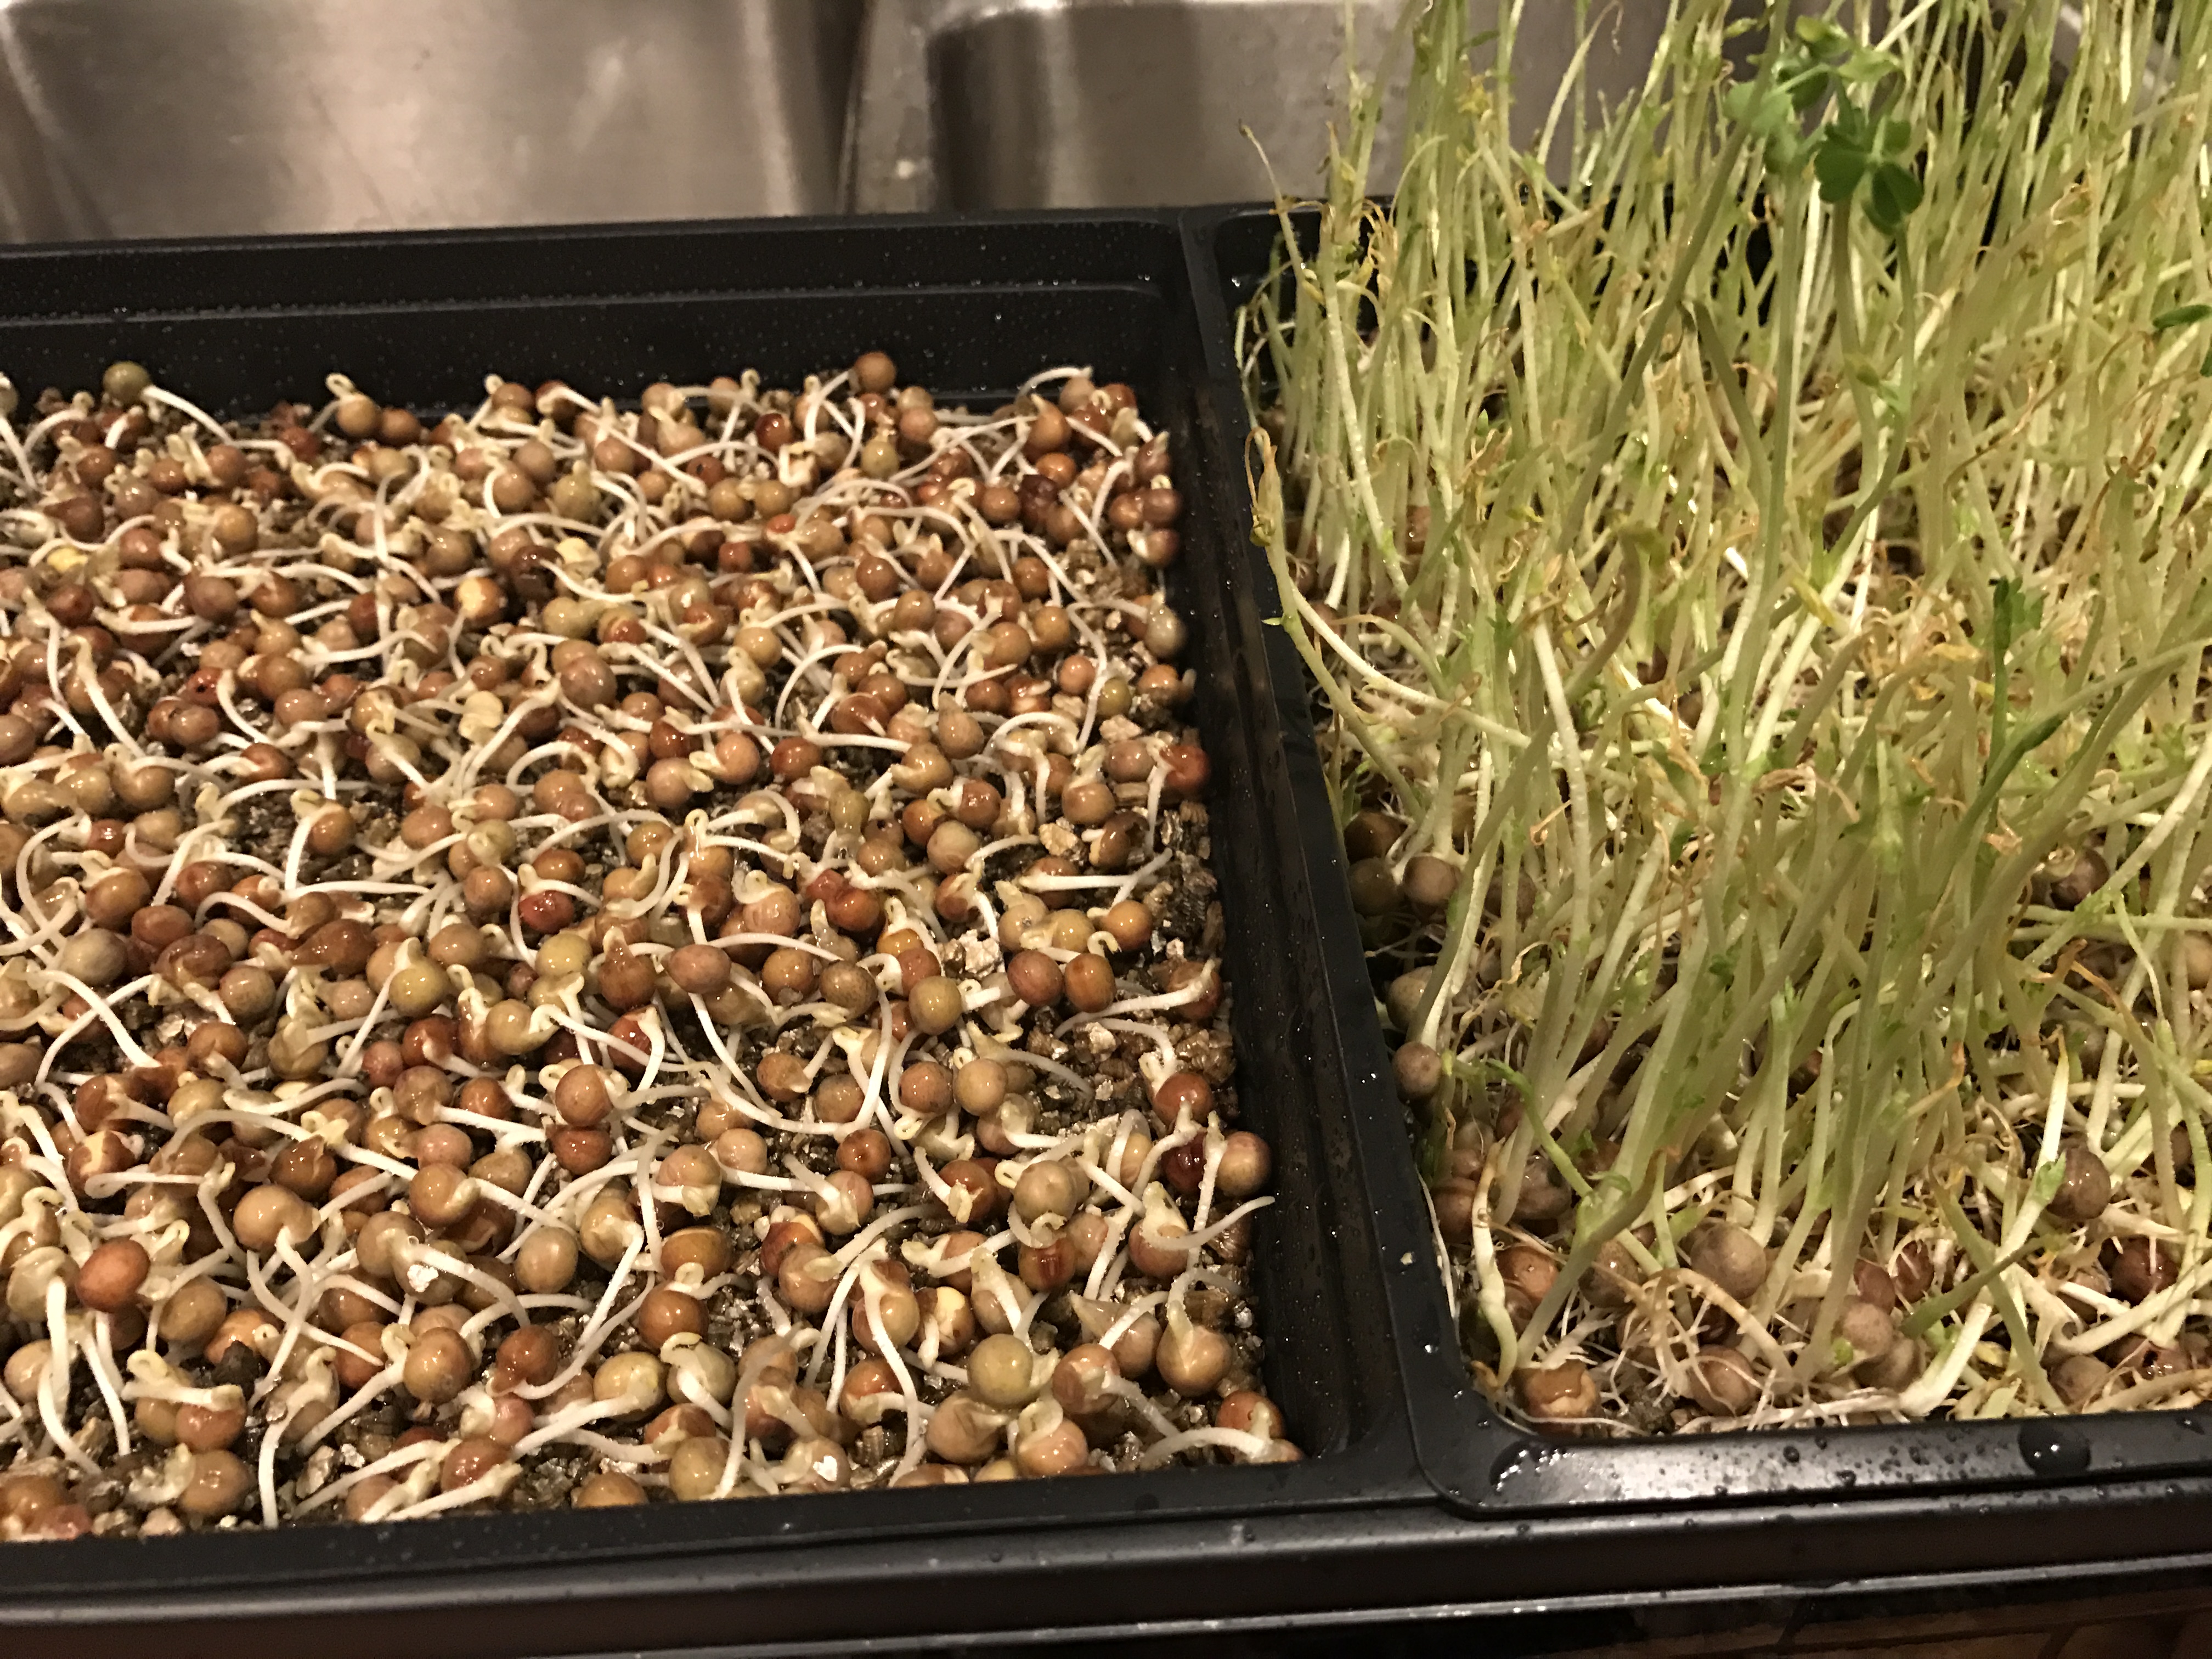
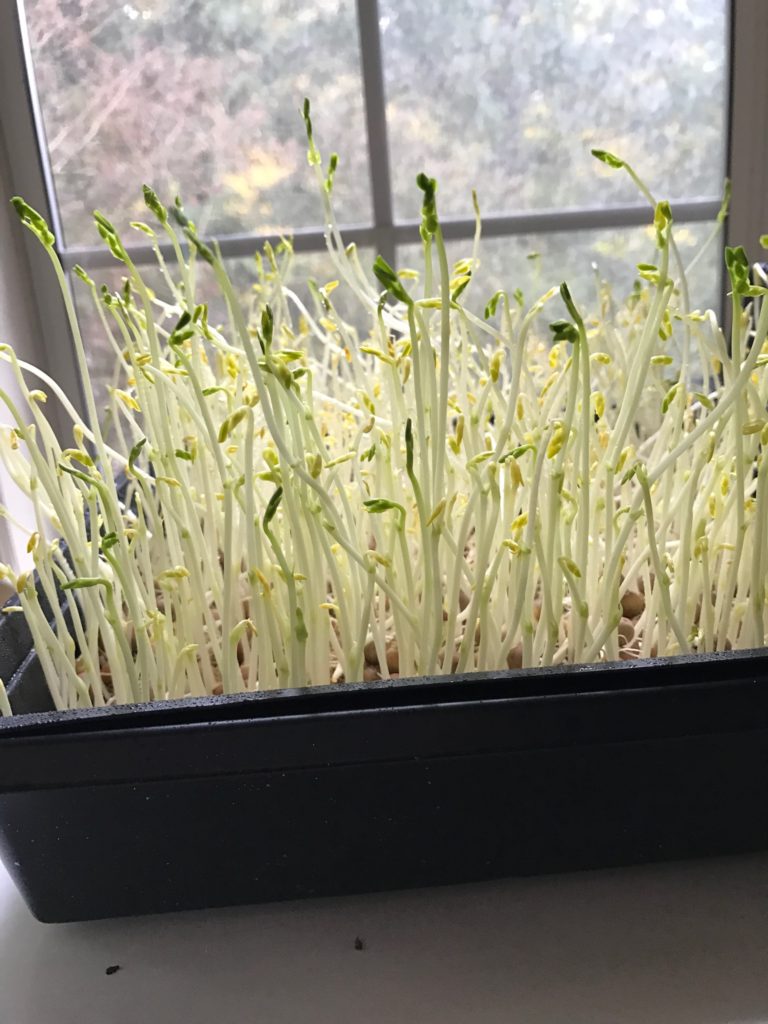
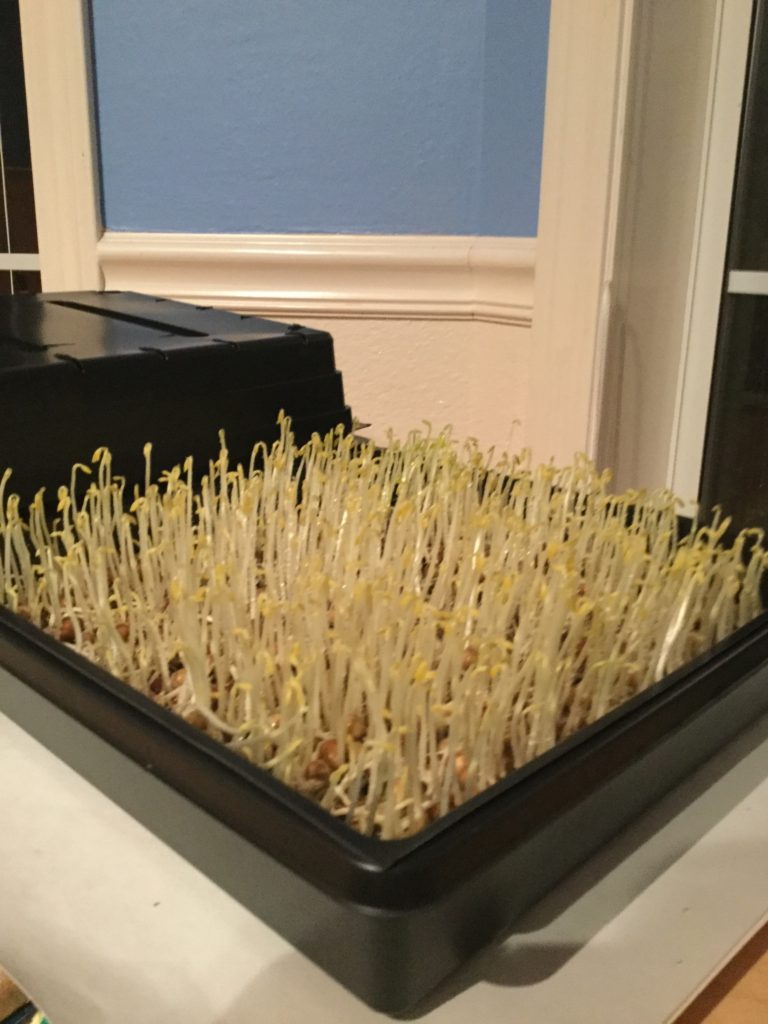
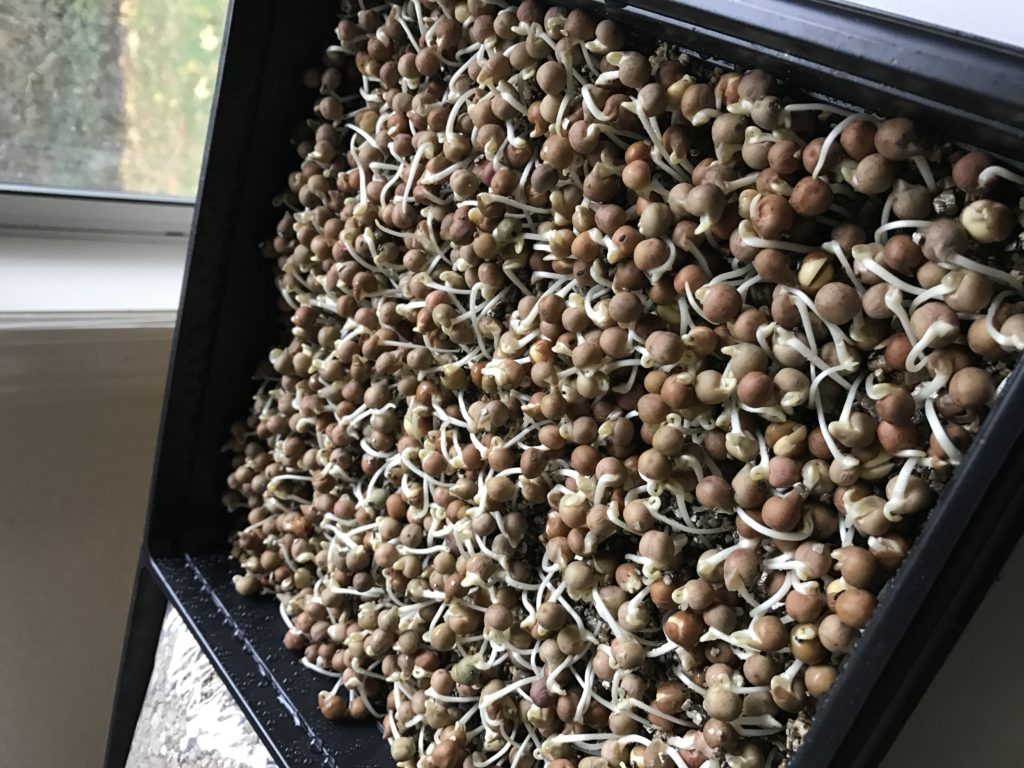
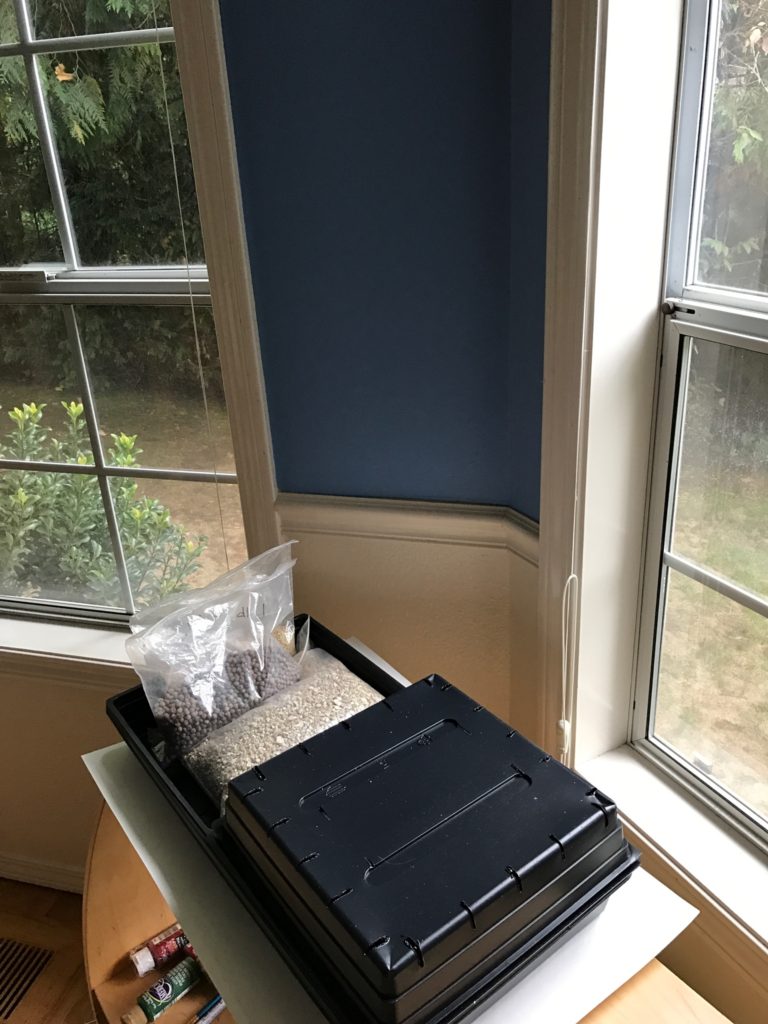
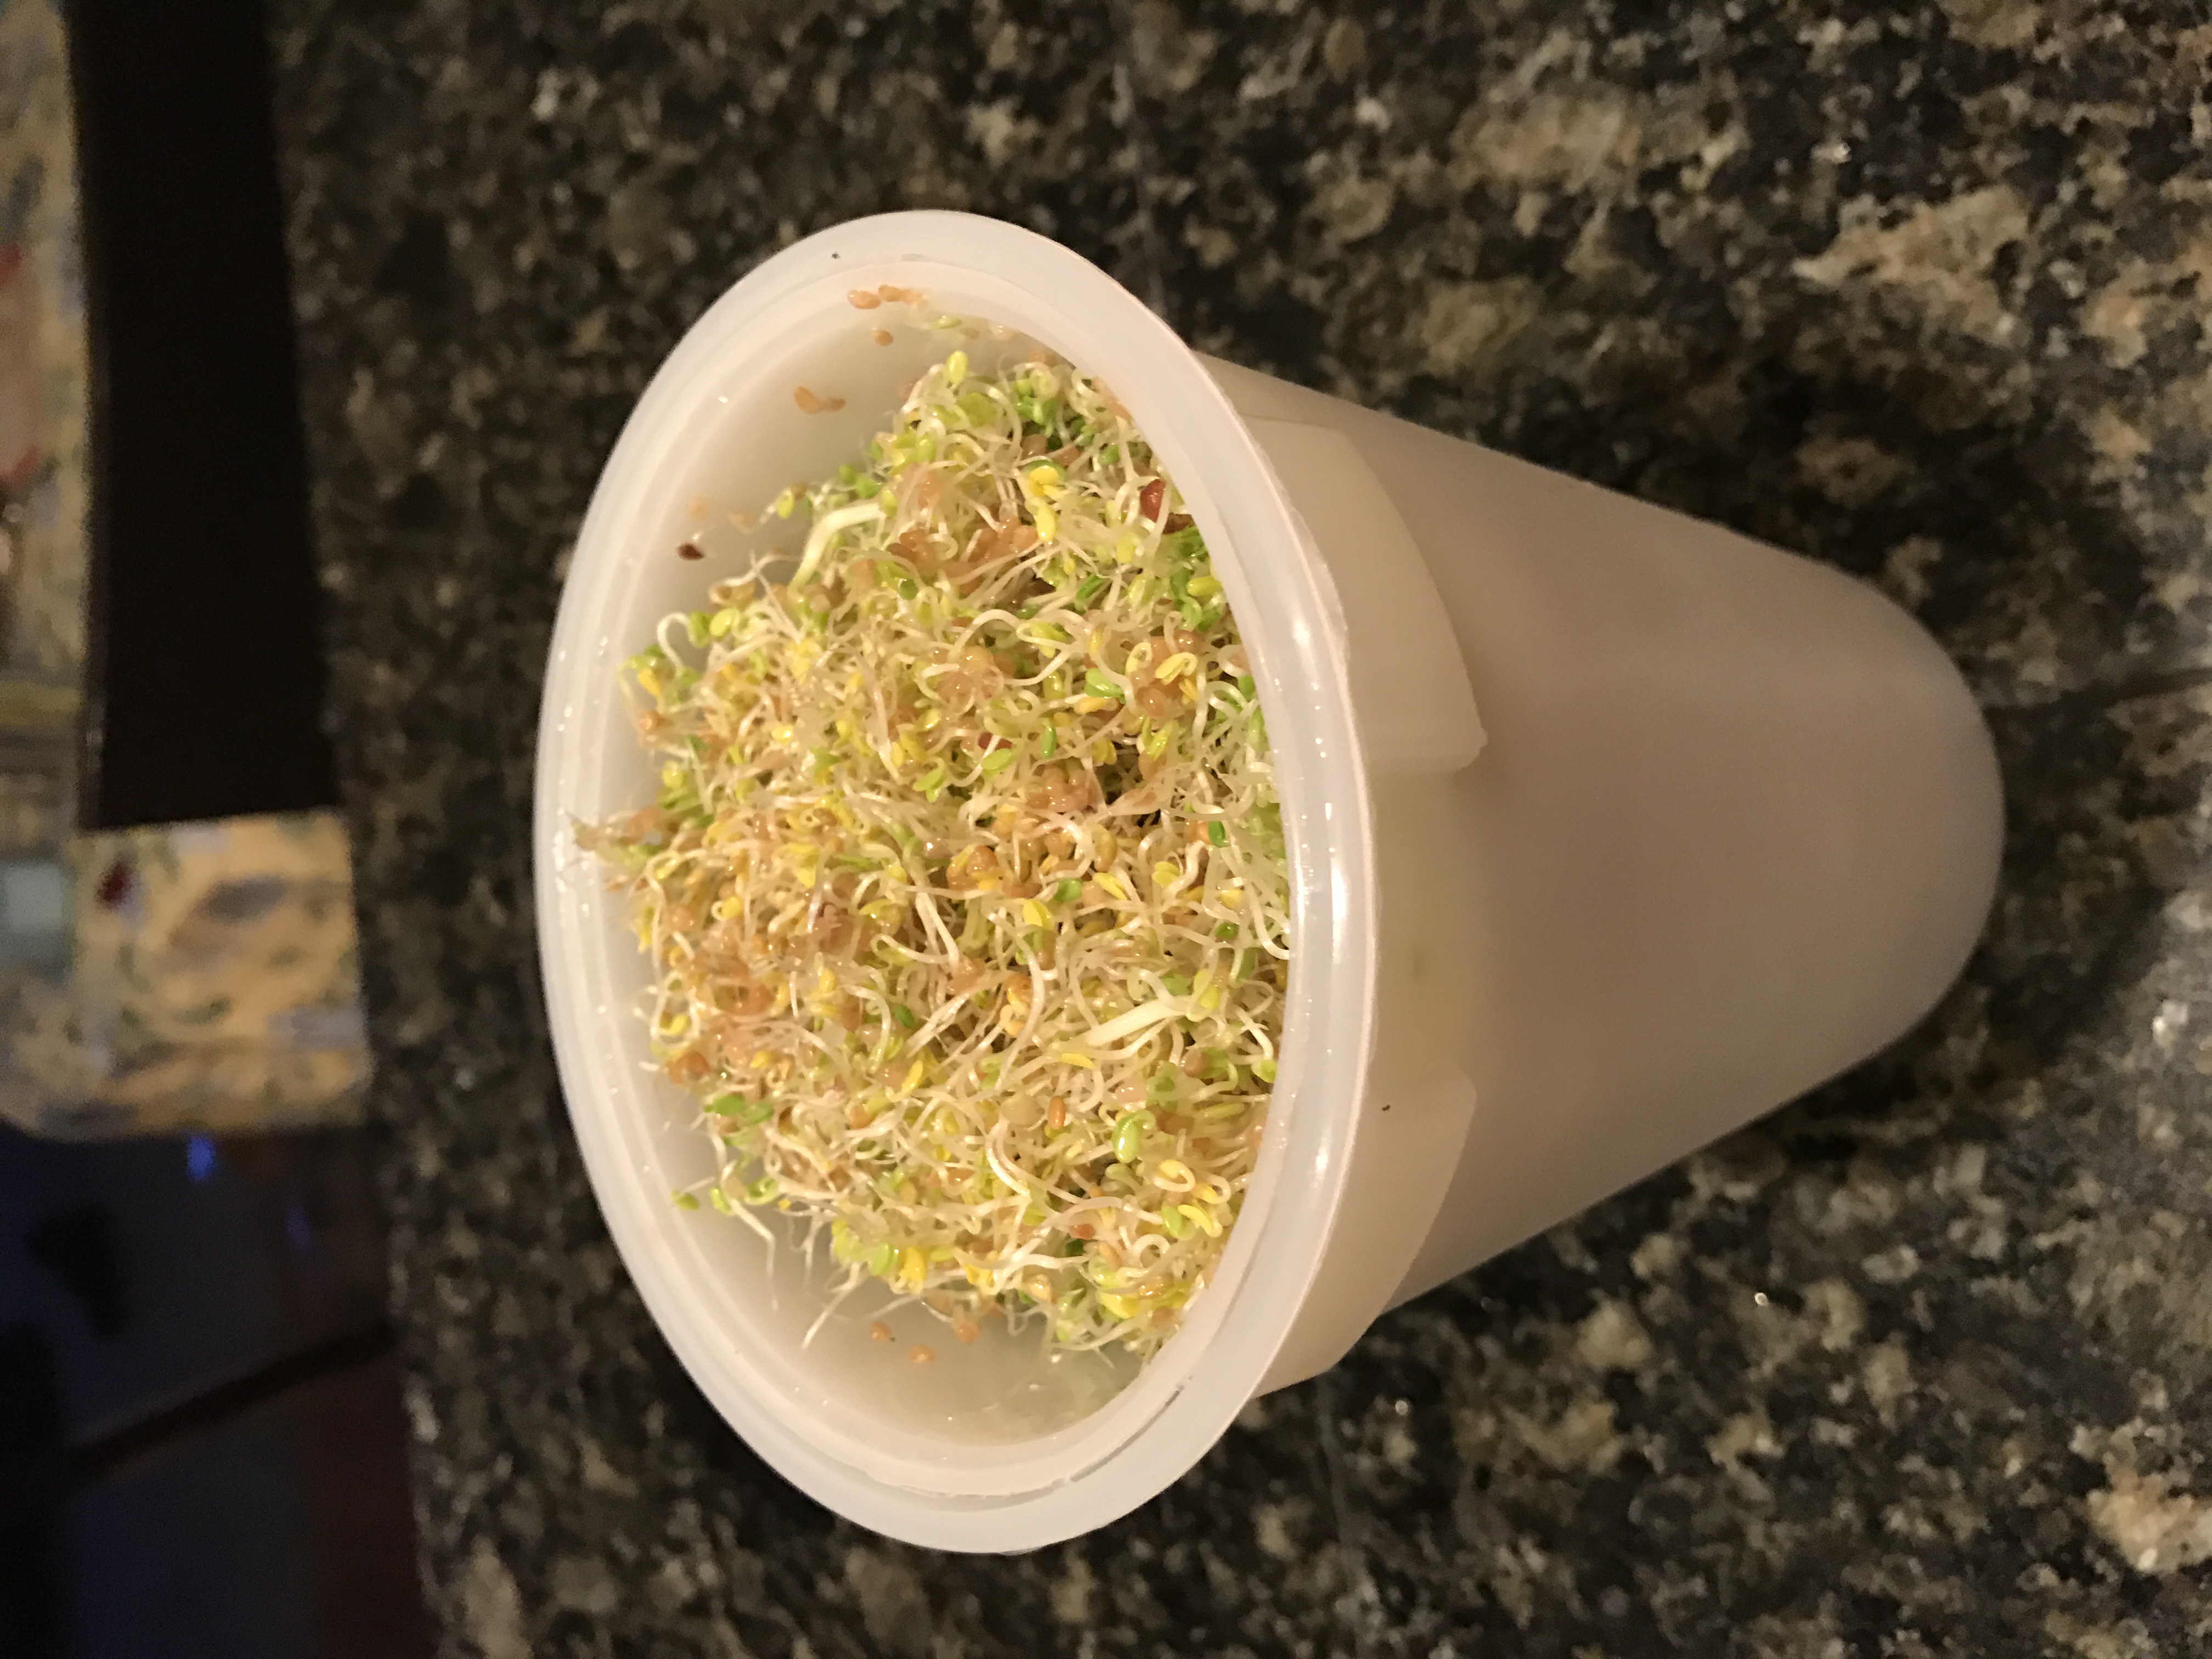
This is French Garden mix from Sprout People and includes Clover, Arugula, Cress, Radish, Fenugreek, Dill. More expensive than a basic seed but I wanted a tasty mix for my first foray into sprouts.  I used an Easy Sprouter but it is basically like doing it in a mason jar. This just has an inner cup with holes like a strainer in the bottom which makes draining it super easy. Having done it though, I don’t think it has that much advantage over a mason jar with an easy to remove and replace sprouting lid.

I started with 1/4 cup seed mix in my sprouter and set it to soak for 8 hours (important, with a salad mix. Too long and it will go anaerobic, too little and they won’t sprout well).  Drained well, kinda tapped it so seeds were climbing the sides and spread out a bit, and then left it 24 hours with a vented lid. After that I fill the cup and soak 5-15 minutes twice a day, using a chopstick to fluff it up and break up the solid mass. Re-drain, until as dry as possible, repeating. The sprouts eventually produce a leaf, shedding a hull, and the cup keeps getting fuller.  It’s ready to eat now. It’s a lot of sprouts for just me.  Hope the kids like it in their salad at least.

I like the flavor. It’s not too grassy, which is how I recall “sprouts” (they were probably alfalfa).

Shoot, an update

So the pea shoots aren’t rooting at all.  I think they are just too crowded.  Videos show that the roots get all curled up together like a mat.  Mine, not so much. If you just gently tug a shoot, it will lift right out.  They did grow to about the height where they are pushing the cover off.  But only a few have leafed past the initial cotyledon stage.  My tray looks less crowded and lush than any video examples that I saw in various videos.  There when they were ready to harvest its like a mini tangled jungle. Not that mine is ready to harvest.  But it’s sparse and anemic looking right now.

I’m not sure whether to cover them back up and hope the root situation improves, or to just pull the lid and see if they will green and leaf more.  I am going to go ahead and start the other side of the tray with fewer seeds, maybe try soaking 1/2 cup and see how that goes.

itty bitty leaves

Day 5 Pea Shoots. Look how fast they grow!

img_1387

We mist twice a day, keeping it covered aside from that.  These are still in the cotyledon stage, just about 2-3 inches, and I’m thinking we will go to the second true leaf, right when the tendrils start to unfold, before trying to green them in the gray end-of-October days.  FYI, I knew almost nothing about growing and cotyledons and true leaves or anything until I started this experiment. (At least no practical information.  I’m sure I diagrammed such things back in science class 1000 years ago ;)) I’ve learned about earthworm castings and vermiculite.  I’m feeling oddly confident; as if this were really anything like gardening.  But I always thought my thumbs weren’t so green.

My daughter is just loving seeing these things grow.  It’s a lot more instant gratification than the container tomato plant she got from a trip to a farm and tended this summer.  Every time we open it to mist, they’ve visibly changed.

Shoots in a week or two?

I didn’t get process pictures. Oops.  But we did our next step in growing pea shoot microgreens today.  Daughter filled the half tray with our growing medium and dampened it well.  Then she rinsed the peas that have been soaking the last 24 hours and spread them out.  Here’s where it gets iffy. 3/4 cup looked like too much to me after soaking when you spread them out.  They are supposed to be sown close together, but a lot of these are touching and even maybe slightly overlapped.

img_1378

I’ve watched several videos and read a number of pages but nothing is very specific aside from the 1 1/2 cups for 20×10 tray that one YouTube video estimated.  Anyway, I set it where I think it will get the best light in a bay window-y area.  But while it’s sprouting, it is supposed to NOT get sun, so we flipped over a second 10×10 tray over the top.  I will go even out the peas a little bit when EllieBean is away; I didn’t want to diminish her sense of ownership in the project by tidying it in front of her

img_1379

Now we just need to mist it every day and wait for the magic to happen. 🙂