Cheddar Powder = Cheddar Chex Mix

Over our long weekend (2 snow days + Saturday & Sunday), we did a family movie night at home.  The girl and I made homemade chex mix, the way my family used to do before the company started packaging it.  It’s so much better crisp and still warm out of the oven, redolent of the Worcestershire and a hint of garlic, IMO anyway.  The beauty of it being you can make it your own too.

Chex Mix

1 C. Butter
3 tsp. Worcestershire Sauce
1/2 tsp. Garlic Powder
2-4 Drops Hot Pepper Sauce
6 C. small Pretzels or Pretzel Sticks
4 C. Wheat Chex
4 C. Rice or Corn Chex
5 C. Cheerios (or Make a Trifecta of Chex)
3 C. Mixed Nuts

On saucepan mix butter, Worcestershire sauce, garlic powder and pepper sauce. Heat and stir until butter is melted. In large roasting pan mix remaining ingredients. Drizzle with butter mixture and toss to coat. Bake in 300F oven for 45 minutes, stirring every 15 minutes. Spread on foil to cool.

I left out the hot sauce; its not much, but my girl is very sensitive to spice.  I also used only cashews.  Two of us don’t like peanuts and I don’t like almonds, so mixed nuts were nixed.  I also did Corn, Wheat and Rice Chex, and no Cheerios, because I forgot to buy them.  But really, you could add a lot of different things to give it your own spin, bagel chips, goldfish, sesame sticks, what have you.  Just stick to about the same volume of the dry ingredients so the butter mixture can have the same coverage.

I dipped into my food storage and tried the cheddar cheese powder I got from Hoosier Hill Farm to season half the batch.  I didn’t really measure.  I just sprinkled on what looked like a good amount when it first came out of the oven, still a little “damp” and hot, and tossed it well.  I’d probably gotten better results and more even coverage if I’d put it in a little mini sifter (like the one I use for powdered sugar on desserts), but it came out just fine.  The cereal bits that got a little too much cheese powder turned out to be the boy’s favorite bites.

He said it was better than the cheddar cheese flavor packaged Chex mix, so if I can’t figure out how to use the cheese powder otherwise, we could have a LOT of cheddar Chex mix. ;)  I am going to use storage powders and see if I can come up with a decent cheese sauce for veggies this evening.  Wish me luck!

Initial tests of the dehydrator

I don’t know why I didn’t take pictures, but I ran a semi successful test of the dehydrator.  I used up stuff that I wasn’t going to be able to consume before it went bad mostly.

I had a mix of items.  I was worried that the onions would flavor the fruits, once it started, because the whole house stunk of onions.  It didn’t seem to though.  Also, the noise isn’t too bad.  It sounded a lot like the microwave in use; and aside from the fact I kept expecting the food in microwave to stop (hah), it wasn’t overly disruptive.

I made Kiwi chips.  These are ok, but when we buy dehydrated kiwi, they are much thicker and a little chewier, and my kiddo prefers that to the thin ones I produced.  I sliced them 1/4 inch thick on my V-Slicer, and they dehydrated down to a double thickness of cardstock.

I did some pineapple slices.  I pulled them out a little chewy, but they are still thinner than my kid would like.  I learned that if there is the tiniest bit of the skin left on, after its dried, the skin is VERY prevalent.  It doesn’t shrink up like the flesh and … yuk.  Bits that I didn’t even notice on the 1/4″ slices before drying made it inedible without trimming after drying.

I also had some chile peppers from my CSA box.  Somehow I ended up with 2 bags with 6-8 peppers per bag.  I am not even sure what they were.  They were much longer than a jalapeno, and red.  Not too spicy, but half my household doesn’t like food that is spicy at all. I didn’t roast and remove skin.  And it seems like that is all there is too it once it dried.  It’s all thickened basically inedible skin.  They don’t have nearly as much flesh as a bell pepper, so I’m not sure I could even skin and de-seed them and leave anything else.  They would likely be candidates for going very dry, whole, and then using like dried chiles in Mexican cooking, cooking in a liquidy dish to add a little spice and then removing, or possibly rehydrating, slitting open, removing seeds and trying to scrape some of the flesh out for adding heat to a dish.  They aren’t good for storing as diced peppers, IMO.

Edit: Turns out they are Doux des Landes Chili Peppers, which are only about as hot as an Anaheim or Dried Pasilla Pepper.  They come from the south of France and are often used in a Basque recipe pipérade, which is a stew like dish made of tomatoes and peppers, flavored with a pork product (Bayonne Ham is the traditional product, but pancetta is probably very close and more readily available here).  Sometimes eggs are poached in it, like a shakshuka.  It is also served over scrambled eggs, polenta, or poached chicken.  Interestingly, I am having trouble finding an authentic recipe that actually calls for these chiles.  Everything in English just says red bell peppers, which I suppose would be similar.  I am straining my high school French lessons from 1000 years ago.

La piperade des Landes

LA piperade des Landes, la plus ressemblante à celle de mon arrière-grand-mère (cap-breton) :

– 3 oignons
– 1.5 kg à 2 kg de tomates, bien mure de préférence.
– 5 – 10 piments vert et doux des Landes (on peu aussi y mettre d autres types, notamment des poivrons, mais c plus tout a fais pareil ^^)
– quelques morceaux de jambon de Bayonne, idéalement les morceaux trop dur et les “coin” avec le gras.
– huile d’olive
– sel, poivre, sucre.
– 3 – 4 gousse d’ail
– thym et laurier.
– un peu d’eau (ou vin blanc).

Haché les oignons, les faire colorer dans de l’huile d’olive. Ajouter piments couper en rondelle et sans pépins, les tomates peler et couper en carré, les coins de jambon, le bouquet garni, l’ail, sel poivre et sucre à votre convenance, un peu d’eau.
Laisser mijoter 30 mn à 1h00 (plus c long, plus c bon). Il faut obtenir une sauce un peu épaisse.

Servir avec des tranches de ventrèche ou jambons de Bayonne poêler. Vous pouvez pocher des œufs dedans.

I believe that this is a recipe for pipérade from the poster’s (Great?) grand mother.  Onions, tomatoes, my chile peppers, hard and fatty corner pieces of Bayonne ham, Olive oil, salt, pepper, sugar, garlic, thyme and (Laurel?  We don’t use that as a cooking thing here, and that’s my daughters name, heh), water or whine wine.  The instructions are harder than the ingredients.  Chop onions, sprinkle with the olive oil (I think in the pan?) and add the sliced peppers (in rounds?), peeled tomatoes (couper en carré?  is that “cut into squares”?  meaning diced?).  Tie up the herbs in a bouquet garni, toss those in, season with salt pepper and sugar and then simmer 30 minutes to an hour until it gets thick.  Serve over slices of  “ventrèche” (a cured pork product like pancetta made from pork belly) or steam fried Bayonne Ham.  Or poach eggs in it.

Well, that was a long interlude, oops 😉

I did some onions, both diced and in rings.  These turned out just fine.  I am going to give them a try in a recipe tonight and see how they are after rehydrating in a dish.

I also dried some citrus fruits.  I had some lemons and mandarins.  I will try grinding a few into powder to see how that goes.  The rest I am using for holiday decorating.

All in all, a good first run of the dehydrator.  I am excited about putting up larger batches of things for my LTS.

New Acquisitions

I have been continuing to fill my pantry as I do my normal grocery shopping.  I’ve also picked up some bulk items from Costco and from the online retailer, Boxed.

bananachip

The way my son loves banana chips, I can probably recoup the cost of the dehydrator in record time! 😉

As I build my pantry and gather recipes using LTS ingredients to test, I have felt the lack of the ability to dry and vacuum seal my own foods.  So I took advantage of the online Black Friday and Cyber Monday sales, and ordered an Excalibur dehydrator as well as a Food Saver with mason jar attachments while finishing most of my Christmas shopping. Merry Christmas to me!

I also got a few more products to test from Emergency Essentials and Thrive Life, including a couple of pantry cans of freeze dried meat products.

This period from Thanksgiving to New Years is an excellent time for me to test pantry recipes and judge the robustness of the pantry as it is now.  I hate crowded stores.  I do almost all my non-food shopping online as it is.  I don’t like the mall.  And I hate circling the parking lot trying to find a place to park.  Even in non holiday shopping times, I typically go to the grocery store right after they open or shortly before they close to avoid busy times.  But in this 6 week period, no time of day is safe.  The past couple of years, the hubby has done almost all the grocery shopping in this holiday season.

I do plan to have him pick up dairy products and eggs.  I also continue to get a winter CSA box with some produce, although I’ve dropped it to twice a month as the variety is limited in these months.  We mostly get root crops and winter squashes, more than my family can eat in a week, and these items keep well.  For meat, I will mostly be using freezer stores.   The dairy, eggs, and meat are items that I could produce from my pantry, but those items are so expensive in their LTS states (by comparison to fresh) that aside from the small sized pantry cans that I purchased to test recipes, I would prefer to use fresh / frozen ingredients now, since they are accessible.

And Speaking of Waxing

agedredwax_large
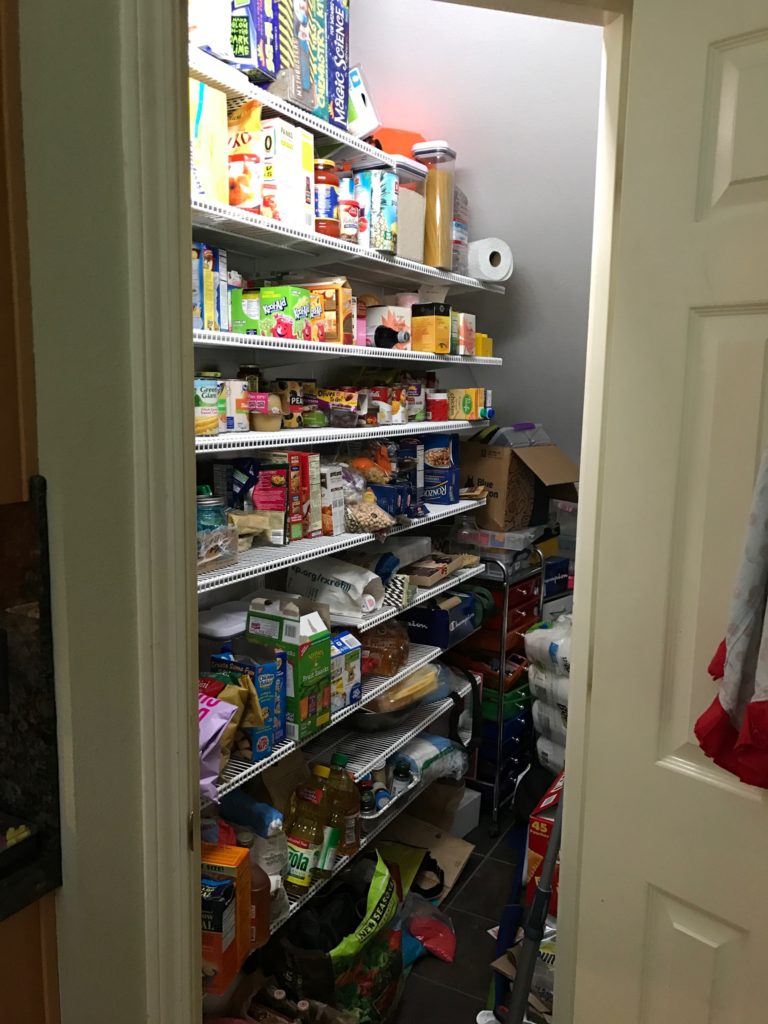
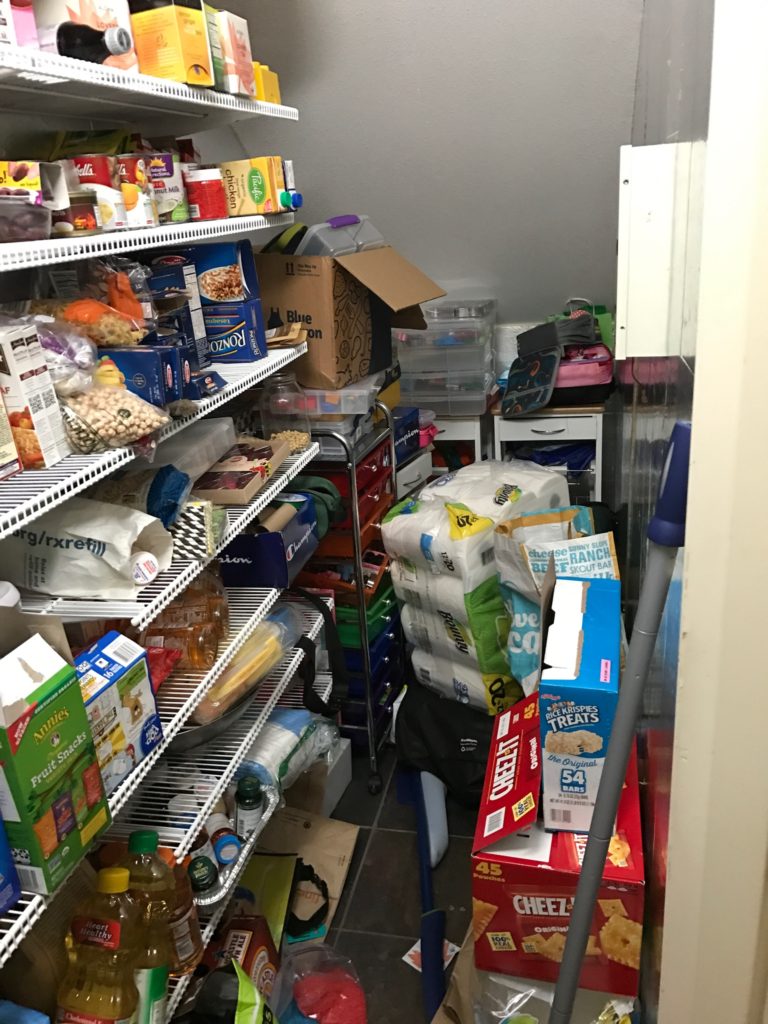
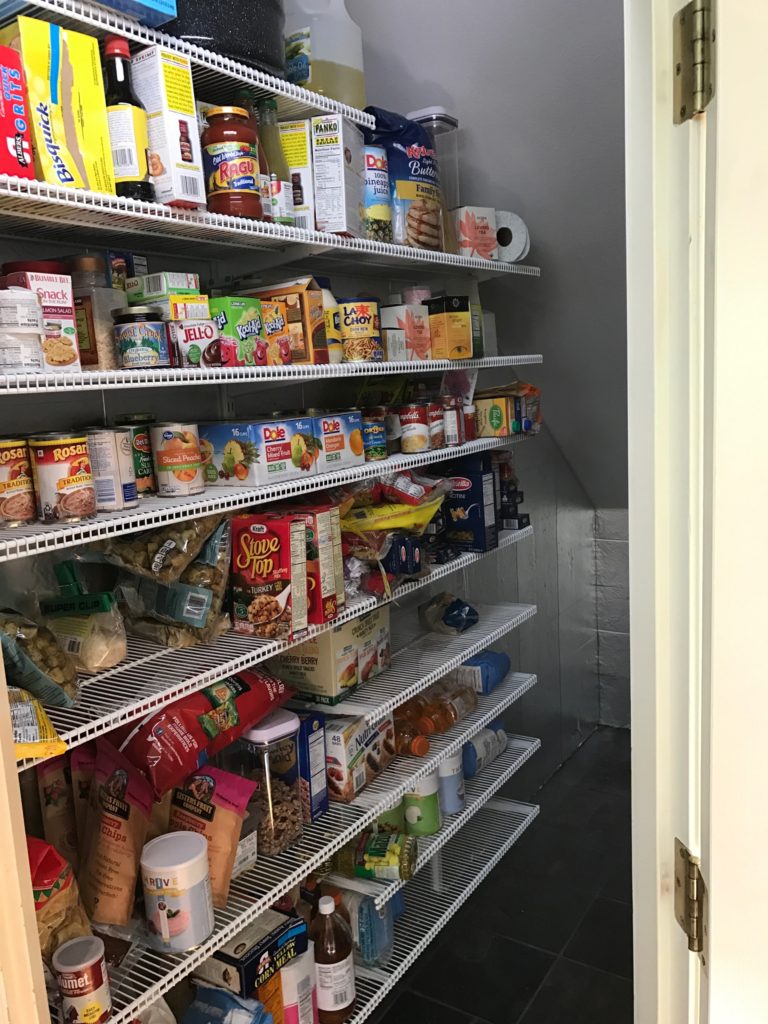
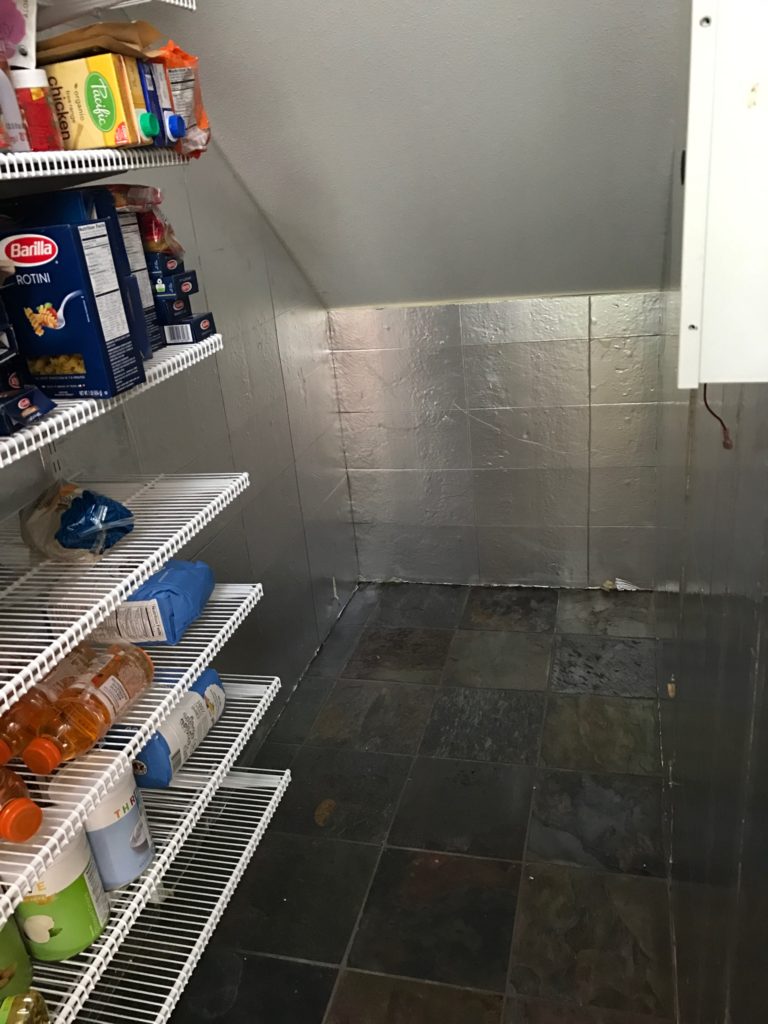
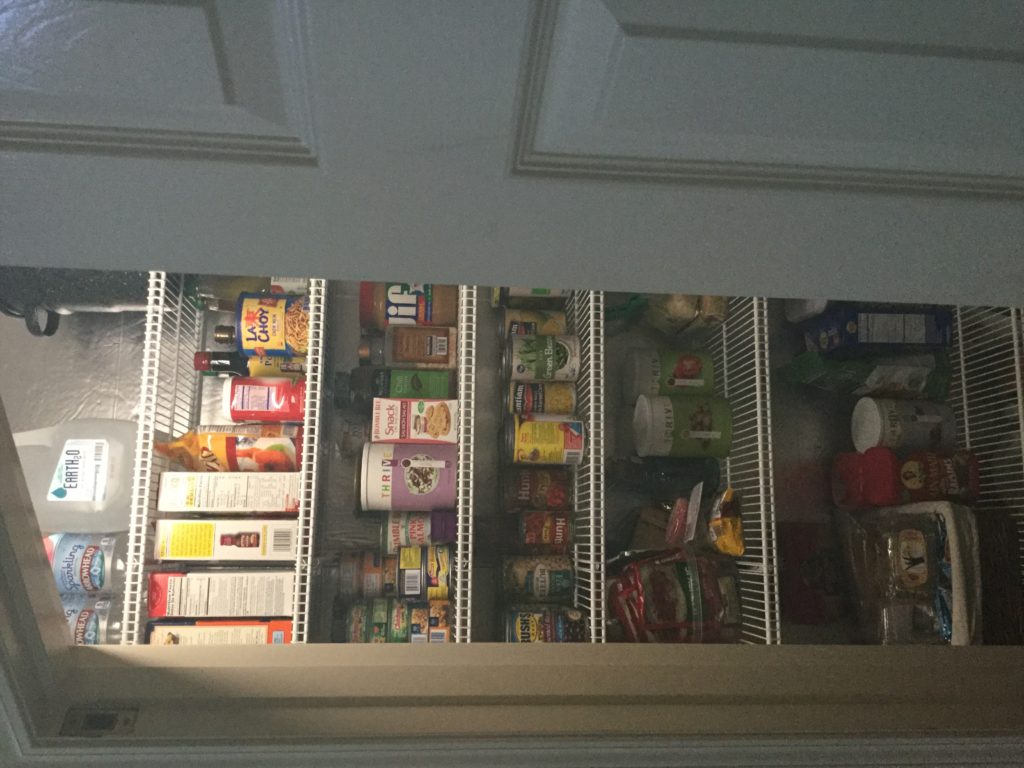
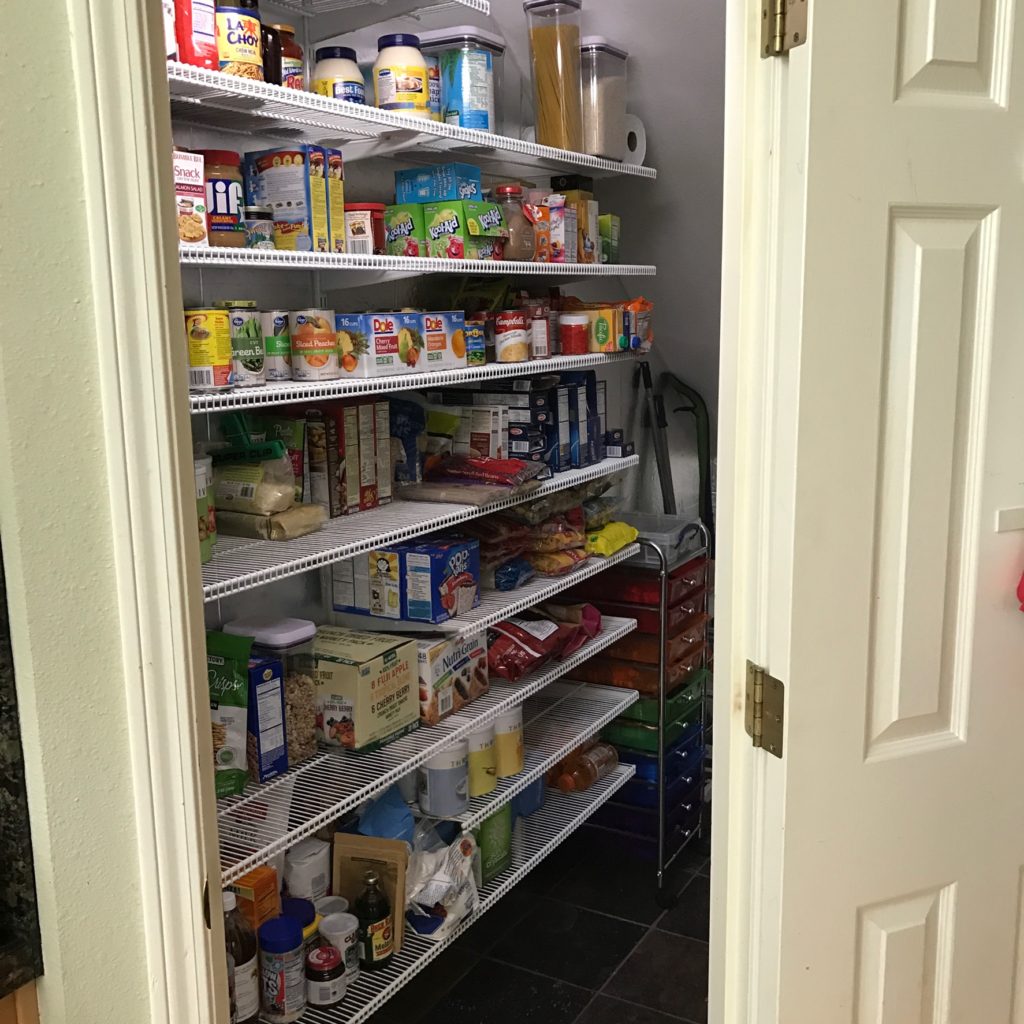
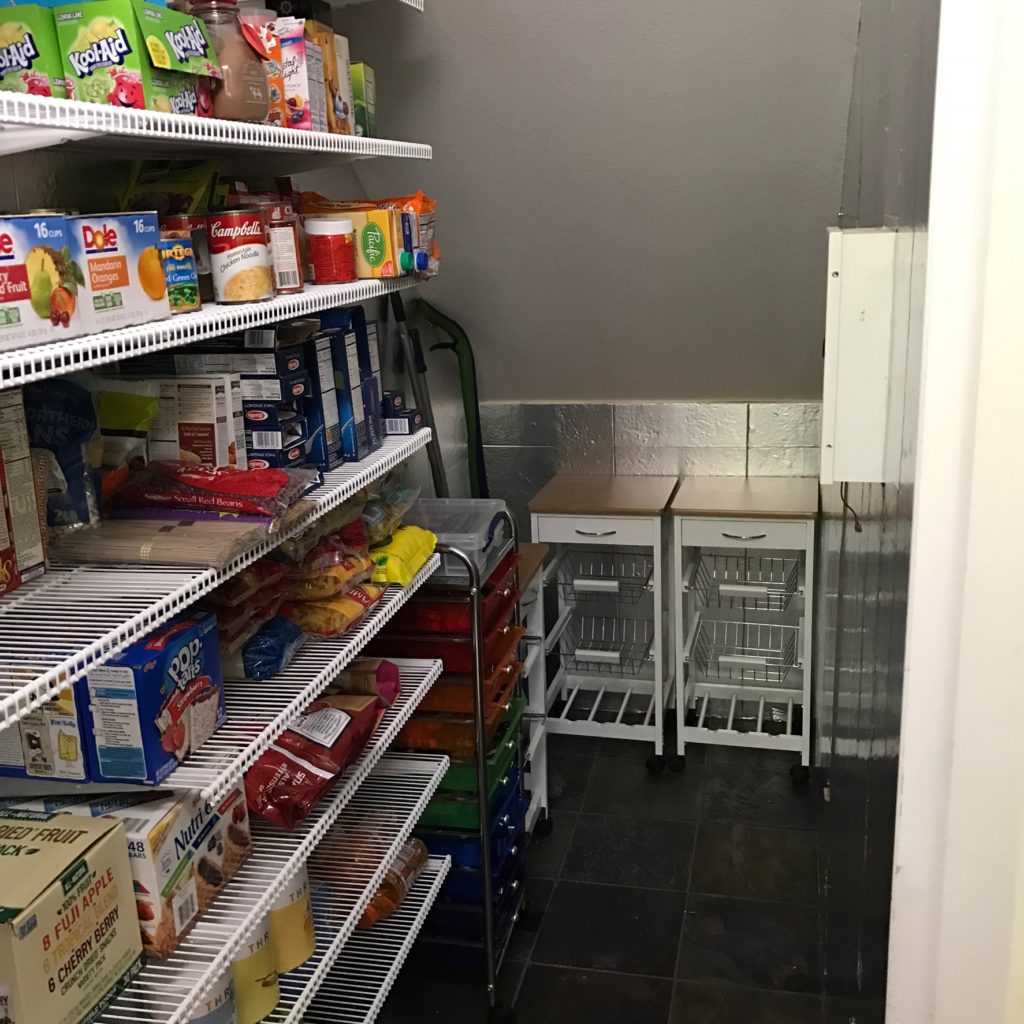
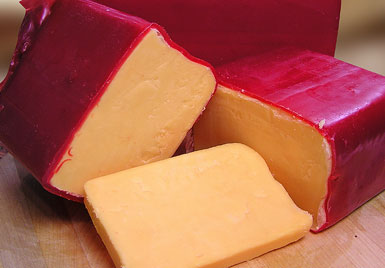
I have been doing research on waxing cheese for long term storage.  From what I can gather from sources online, the best temperature for storing cheese in this fashion is between 40-55 degrees.  My pantry was being used as a wine storage cupboard by the previous tenants, so they installed insulation on all the walls, and it stays cooler than the rest of the house, but it doesn’t stay that cool.  Still, even at higher temperatures, waxing cheese is supposed to increase shelf life to 6 months to a year.

Every few months, Safeway has a “Just for U” deal on their store brand of cheese.  I don’t usually buy it; we like our Tillamook, but its such a bargain price (typically 99 cents for 8 ounces) that I usually buy my limit and we I use it in shredded applications, tacos, on scrambled eggs, topping a casserole.  It would be no great hardship to lose a block of this cheap cheese, so the next time the deal strikes, I am going to try my hand at waxing cheese.

Lots of info out there on how to do it, and some of it contradictory (one site says only heat the wax just so its melted enough for dipping to avoid overheating the cheese because drawing out the fat will prevent a good seal.  Another says to get the cheese wax up to 200 degree since most germs are killed at 180), so more research for me.

Pantry Friendly Meals, I do not think this means what you think it means.

Oh the internet.  Such a wealth of information, and sometimes, oh so useless.  Seeking out good recipes using long term pantry stores is a veritable minefield of annoyances.  It’s amazing what some people consider a “pantry meal”.  I do a search for some variation of “pantry friendly meals” or “disaster meals” or “emergency food recipes”, and it’s just an overload of mostly unhelpful information.  Lots of pages without actual recipes, many pages of recipes that you can make with food bank boxes (and most of them have a staple set for each client that includes some fresh foods), and a whole lot of nonsense.

Result 1 of my search.  7 days of fast, pantry friendly meals.  The grocery list follows:

Fresh Produce – Pears – Apples – Salad greens/lettuce – Avocados – Grapefruit – Limes – Tomatoes – Carrots – Celery – Cucumbers – Onions – Garlic

Fridge – Parmesan – Cheddar cheese – Blue cheese – Fontina cheese – Turkey bacon – Ham or prosciutto – Eggs – Mayo – Hummus – Butter

Freezer – Peas – Spinach


Pantry/Staples – Marinated artichokes – Sun-dried tomatoes – Olive oil – Vinegar – Balsamic salad dressing – Tomato soup/squash soup – Canned/jarred salsa – Walnuts – Raisins – Black beans – Dried pasta – Canned tuna

Spices – Curry powder – Dried oregano – Kosher salt and pepper (to taste)

Breads – Whole wheat tortilla – Whole wheat bread – Whole wheat pita

As many fresh, frozen, and refrigerated products as anything you would store or could make from your stores.  Next search, first hit, a whole blog on Pantry Friendly Cooking.  First recipe calls for mac and cheese with fresh cheese using a pressure cooker.   Next recipe is a little better, if not so practical.  Personalized chocolate Easter eggs.  You of course need the mold, and tubed frosting, and 3/4 cup butter (canned butter is so expensive, and I am not sure butter powder would work in candies), but at least all the ingredients are from the pantry.  The next recipe I see again calls for a pressure cooker, and includes a head of garlic, 3 bell peppers, a couple onions, chicken breast (raw), fresh asparagus, fresh shrimp, mussels, and lemons.  Because it happens to use rice, canned tomatoes and canned chickpeas, its pantry friendly?

Clearly, my definition of a pantry meal is a little different.  And its not just these two sites.  9 out of 10 that I have looked at are like this.  The 10th either is selling a book with actual LTS recipes, or is a list of foods to have on hand without actual giving recipes other than maybe “oatmeal for breakfast, tuna with crackers for lunch, rice and beans for dinner”.

So I picked up a few second hand books.  Apocalypse Chow (be warned, the Robertsons have published at least 3 different disaster meal cookbooks, and there are many repeats between them), Simple Recipes using Food Storage, and 100-Day Pantry.  I read some others via Kindle Unlimited.  I’m not linking those; they were almost all universally bad.  Poorly edited, clearly not self created recipes, but regurgitating things they found online.  People looking to make a few bucks, not credible cookbook authors.  Oddly, almost all of them have high reviews.  You’ll find 1 or 2 low reviews, usually with the same complaints I voice.  They must be creating false accounts, or getting family and friends to buoy the reviews.  I can’t account for it otherwise!  The one exception for me was “Dinner is in the Jar“.  This book provided an excellent walk through on how to make mason jar meals using a vacuum sealer, from long term storage foods, along with add-ons (most of which are also available as pantry staples, like ground beef, or cooked cubed chicken).  The author also provides a method for making these meals using mylar bags instead of mason jars.

At any rate, those 4 I linked do provide what I would consider “Pantry Meals”.  I can’t say they universally appeal to me.  I am not a fan of processed foods.  For a short term disaster, I suppose that is one thing, but I can not see feeding my family endless days of canned soups, spaghetti-os, chiles, et all.  And I am not buying cream of mushroom/chicken/celery soup.  I don’t care how ubiquitous it is in easy pantry meals.  It’s repulsive.  I want to be able to cook mostly as I do now – meals made from whole foods, not pre-processed items.  Of course, this will be more expensive but well, it is what it is.

At any rate, I have been collecting recipes that will work for my family from these sources, although they come in different degrees of pantry-usingness.  I have been labeling them as “Pantry Friendly”, which is almost all long term storage items, but might include 1-2 things that you would have on hand during a short term emergency, or if you had a root cellar (such as garlic), and LTS Recipes, which are those that can be made entirely from pantry stores, including freeze dried or dehydrated items.   Many of the recipes that I use now can be converted as well; I just have to figure out how to use dehydrated garlic and onion and such in place of the fresh versions.

LTS Asian Chicken Soup

1 (10- to 15-oz.) can chicken
I (15-oz.) can carrots
1 (15-oz.) can bean sprouts
1 (6-oz.) can mushrooms
1 (14-oz.) can chicken broth
2 oz. fine noodles (3 oz. Ramen noodles are okay)
1 T. onion flakes
1 tsp. garlic flakes
½ tsp. ground ginger
3-4 T. soy sauce
scant 1/2 tsp. apple cider vinegar

Do not drain the vegetables. Combine all ingredients and simmer until noodles are soft. Ramen noodles are not labeled for two years’ storage, so rotate them more often.

Note to Myself

This is from Cooking with My Food Storage.  Very clear steps on how to use a vacuum sealer with a mason jar; not just for meals in a jar, but in general when I start dehydrating foods myself.  I also need to find the tip on how to do this with smaller jars inside a larger jar if you don’t have a jar sealer that fits smaller sizes and record that here for my reference as well.

A reminder about the basics of how to make a meal in a jar.

How to make a Meal-in-a-Jar:   Two Methodsjar-sealer

Method 1:  Use a Food Saver to Seal the Jars

Step 1:  In a clean, dry quart jar, layer ingredients. Shake the powder down into the jar if needed.

Step 2:  Place the lid on the jar.  Don’t add the ring.

Step 3:  Attach one end of the hose to the accessory port and the other end to the jar sealer.  Place the jar sealer over the jar.

Step 4:  Turn on your food saver and remove the oxygen from the jar.

Step 5: Remove the jar sealer (it is easier to unhook the hose from the jar sealer first), add label and ring, store in a cool dry place.

Method 2:  Use Oxygen Absorbers

Step 1:  In a clean, dry quart jar, layer ingredients. Shake the powder down into the jar if needed.

Step 2:  Wipe the top of the jar with a paper towel to remove any powder.

Step 3:  Top with a 300 cc oxygen absorber. Seal tightly.

Step 4:  The lid should seal within a few hours.  Add label.  Store in a cool, dry place.


LTS, beans, and you

img_0043

Do you know why after soaking beans overnight you are instructed to drain, rinse well, and then use fresh water to cook the beans?  I was told we do it because it reduces flatulence, old wives wisdom and all that.  And actually it does, but the real reason to do it is to prevent illness.

Legumes and grains contain a type of protein called lectin.  Lectins can be toxic.  Lectins are also responsible for the gas inducing responses we can have to the magical fruit that is beans.  Soaking the beans draws out some of these toxins, so we need to discard the soaking water, rinse well, and start with fresh for cooking to reduce our exposure to the lectins.  The cooking process destroys most of what is left in the legume.

Now, there are different kinds of them, and they vary in how ill they can make you.  In fact almost all foods have some lectins, and some lectins are beneficial.  Different people also respond to the same lectins in different ways.  Beacuse we don’t digest lectins, we often produce antibodies to them. Almost everyone has antibodies to some dietary lectins in their body. This means our responses vary. However, some legumes, such as red kidney beans, are so full of toxic to humans lectins that they should not be eaten unless properly, thoroughly cooked.  (Red kidney beans are not suitable for sprouting!).

The temptation of post-SHTF bean cooking is to reduce water usage.  I’ve even seen advice to just cook  it in that water.  Don’t do it!  Modern packaged beans don’t need nearly the sorting and cleaning; you are unlikely to find rocks and dirt, but it’s still not good to ingest!  Find another way to use that water.  Use it for flushing, or if it’s the right season, water your garden with it.  I actually wonder if this might repel certain animals from nibbling at your plants – it’s thought that plants developed lectins to deter animals from eating their seeds and animals can smell the lectins.  That’s just speculation on my part though.

Keep in mind that it’s not just dried beans that can make you ill.  Some types of grains and legumes can be eaten raw (like a sugar snap pea, pod and all) but others (like a runner bean, can eat pod, but pod and contents needs to be fully cooked, or a mature fava, discard pod, peel inner bean and fully cook) need to be cooked to be safely edible.  If you don’t know for sure that your produce is safe to eat raw, err on the side of caution and cook it.

Enemies of food storage

img_0044Light:  Exposure to light can cause degradation of taste, appearance and nutritional quality of food. Fat soluble vitamins and proteins are most likely to be affected by light. Store your food in opaque containers.

Temperature: Improper temperature for storage causes nutrient loss and degrades the texture of food. Essentially, food that’s too hot begins to cook and decay, and food that’s too cold begins preserving. Between 40-70 F is best, and in general closer to the cooler side is desirable. The storage life of most food products is cut in half for every increase of 18 degrees Fahrenheit. In a garage or attic, temperature may fluctuate between too hot and  too cold because these places usually don’t have insulation or controlled heat  and air conditioning.  Consider both temperature and consistency of temperature when choosing a LTS location.

Humidity / Moisture:  Too much moisture promotes an atmosphere where microorganisms can grow and chemical reaction in foods causing deterioration that ultimately can sicken us.  Mold in your food is no bueno. Some foods stored in a root cellar situation need a certain amount of humidity, but it’s typically in a specific range. Root cellaring is typically storing food for weeks or months too, and not years.

Pests: Insects and rodents can ruin your LTS if they manage to invade.  Sometimes grains can have an undetectable insect infestation that will eventually become apparent, which is why some people freeze grains and flours before storing.  Others include diatomaceous earth in their packaging, which deters pests, but doesn’t harm humans.  Rodents can be very persistent. If they’re hungry enough, they will get through even the strongest packaging. That’s why you should invest in some 5-gallon food grade buckets for your food and consider traps or repellents in your LTS area.

Oxygen / Air:  The presence of oxygen allows bacteria, microorganisms and pests to thrive and survive in your food.  In addition, many nutrients oxidize in an oxygen rich environment. Over time, oxygen changes the appearance, flavor, and texture of food. When fats oxidize they become rancid.

Time: It marches on, and everything gets old and loses taste, texture, nutrition, or even becomes inedible.  Rotating your food storage is important unless you are talking about very long storage foods (25+ year stuff that you buy, store and “forget”).

Human Nibblers: Kids seeking snacks.  Husbands seeking snacks.  While neither is likely to get into a bucket of lentils, no pack of granola bars is safe in my house.  I have to admit to being guilting of popping open a can of Thrive freeze dried yougurt bits; and those things, my friends, are not cheap!  If possible, store foods that tempt your human nibblers out of sight, repackaged to camouflage them.

Improper Packaging & Improper Handling: The issue here is that doing either thing can compromise your food and allow one of the other threats to your food storage to get a foothold and start degrading your supplies.  A small crack in your bucket, storing food with too many or too few oxygen absorbers, using non food grade containers that leech chemicals into your food – just a few things you might inadvertently do rendering all your effort and money moot.

Storing food is insurance; do it right.

My pantry finally cleaned out

These first two are before.img_1349 img_1350

These are after I’d pulled out all the things that should be stored elsewhere.

img_1440 img_1441

This is where I am now.  I discovered that I have a lot more processed crap than I thought I did.  I don’t prepare so much processed junk on a daily basis.  Some of it has been in there a long time.  I realize food can be good after the expiration, but I had 10 years past the expiration date on a couple grocery bags full of stuff that is gone now.

img_1442 img_1443

So much more room for storing stuff.  I do store potatoes and onions and fresh fruit and squash and things in a different place.  I may use those carts in the back for that now.  Or I may move them and use that 3’x4′ space forfood grade buckets when I get to that point.

This isn’t all my food on hand.  This is really the storage pantry.  Stuff I use every day is more accessible to the stove.  Baking supplies, cereal, fats and oils, spices and seasonings, unrefrigerated condiments, nut spreads, jams, and honey, breads, along with the root veggies and such I mentioned above are all in cupboards and countertop storage containers for easy access.

deliciousness Falafel Pita with Salad Mix Sprouts & Tahini Sauce

I like falafel.  It just so happened that I had soaked and cooked a couple pounds of garbanzo beans to make the multi bean salad and hummus, and had more left.  I also have plenty of tahini (used to make hummus, among other things), so what’s a girl to do?

Make a Falafel Pita with Salad Mix Sprouts & Tahini Sauce, of course

Let me say, I don’t claim a lot of authenticity here. I just know what are the typical flavor profiles and I go from there. I also like to form them into flat patties instead of small balls, which is the traditional shape. I often buy my falafel mix in the bulk section of my grocery, but I had the softened cooked beans, so why not. I don’t think falafel usually needs cooked beans, just soaked until soft, but this worked.

pita

So this is a little colorless. Make it more exciting with some tomatoes or roasted red peppers! But I like the basic flavors =)

1 C. cooked Chickpeas
½ C. fresh Parsley. Stems removed
Small handful Cilantro, stems removed
½ small-medium Onion, rough chopped
4 cloves Garlic, peeled
Salt to Taste
½ T. each Pepper, Cumin, Coriander
Cayenne Pepper, to taste, optional
Pinch of Cardamom, optional
Oil, for Frying
¼ tsp. Baking Powder
1 T. Sesame Seeds
Flour, optional
Egg, optional

Process the herbs in food processor until finely chopped. Add onions and pulse until well chopped. Add chickpeas, garlic and spices. Run for 30 seconds, scrape down sides and repeat until all is well combine and the mixture is smooth. Transfer to a container with a lid, cover tightly and refrigerate an hour to overnight. When ready to fry, heat your oil to 350 in a heavy bottomed skillet. I do about ½ – ¾ inch in cast iron. I think if you are doing thicker ball shapes, you might need a deeper oil. Using wet hands, form falafel into oval patties, at most about ½ inch thick – they should be a good size for your pita, to fit with a little room for the toppings, but not so small you don’t get falafel in most bites. If your falafel “dough” doesn’t come together well you can add up to a tablespoon of flour (if it’s too wet) or a lightly beaten egg (if it’s too dry) so the patty will hold its shape. Even without the additions, when its right, the patties will be delicate. If you can shape them and move them into the oil, they will tighten up as they cook. Carefully place your patty in the hot oil. Cook until a deep golden brown on the outside, flipping once. This takes mine about 3 minutes per side. The center should be cooked all the way through, so check your first patty and adjust heat up or down to get that nice brown without burning, and still cooked through. (You can bake these on a lined cookie sheet at 350 for 15-20 minutes, but they don’t have the same yum crunch). Transfer your cooked patties to a plate lined with paper towels or brown paper grocery bags to drain.

For Sandwich:

Pita Bread, cut in half
Sprouts (I used my French Garden Mix)
Tahini Sauce (recipe below) or Hummus
Optional: sliced Cucumbers, Tomatoes, Arugula, Roasted Red Peppers, Sour Cream

Stuff your falafel, sauce and sprouts into the half pita.  Add any extras, such as additional veggies or a dollop of sour cream and yum out.

Tahini Sauce

½ C. tahini paste
2-3 T. plus more, if necessary, fresh lemon juice
1 small clove garlic, minced
¼ – ½ C. water, as needed
¼ -1/2 tsp. salt

Tahini Sauce: Make the sauce by combining the tahini paste, lemon juice, and garlic in a bowl and stirring to combine. Add the water a little at a time as needed to form a smooth, creamy sauce approximately the thickness of heavy cream. (Note that the sauce might appear to separate for a bit before enough water has been added; just keep adding more water bit by bit and stirring until the sauce comes together.) Season to taste with salt and more lemon juice, if necessary. Transfer to a nonreactive container and refrigerate until ready to serve the falafel.

I think this would be fairly adaptable to LTS.  I’ve got some large containers of dried herbs, onions and garlic ordered.  I’m going to test out making this without fresh herbs and garlic.