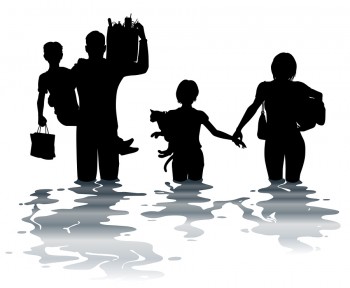
 In the event of a disaster that prevents you from being able to “bug in†and shelter at home, it is important to have a good grab and go solution ready. We cannot and should not rely on the government or relief agencies to meet our immediate needs following a disaster. They will have limited resources and limited staff (estimates say at least 40% of emergency and health care staff do not report for duty in a true SHTF emergency. They may not be able to get there. They may choose to stay with their family).
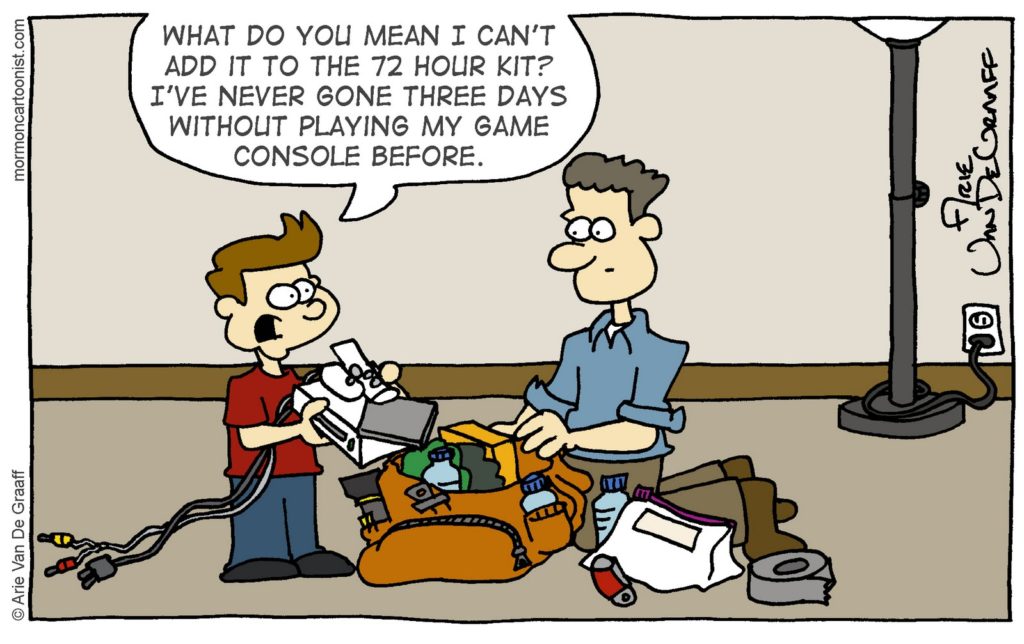
So what is the smart thing to do? Prepare to look out for yourself and your family with food, water, clothing, temporary shelter, and medical supplies for at least 72 hours. (Of course, after that, you had better have a way to supply your basic needs when the gear in your bag is gone!)
 How do you create a good 72 hour kit / Bug Out Bag? Each member of the family should have their own backpack. It is crucial that children feel safe during a time of crisis and nothing will help them feel secure more than having their own things. Purchase a good pack that is sized so your child can carry it easily. Everyone should carry their own basic supplies such as medications, some food and water, an ID card and glow stick and mylar blanket.
For myself and my family, this is what I have decided on including. It’s subject to change. I did not include survival items to get us beyond 72 hours. I did not include a way to cook food, a mess kit, or survival tools that I don’t know how to use yet. My goal with this kit is to enable us to survive and get to an alternate location with better resources than what we can carry.
A Great Back Pack. Not all packs are created equal. Make sure your pack is large enough to add all your personal items. You do not want to be forced to carry a second pack as the goal is to keep your hands free to care for children or pets, and to clear debris. Your pack should have padded shoulder straps for comfort and should be supported from the waist when it is carried, for optimum support. A pack with several compartments will also allow you to separate items and organize your kit enabling you to find things quickly. Considering purchasing a backpack that is a bright color which can easily be found in a cluttered closet or cupboard, during grab-and-go conditions.
This isn’t a time to scrimp; be open to spending a little bit more to make sure that you get what is comfortable. Here in the PDX area, REI is a more expensive store, but have competent staff on hand to help you find the best backpack for your needs. If you have an outdoors outfitter in your area, I strongly recommend looking for your pack and advice there. Go ahead and observe OpSec. They don’t need to know any more than that you plan to do some off the grid hiking for a long weekend. Of course, if finances do not allow, ANY 72 hour kit is better than nothing.
Basics. Each family member should have an ID card with some basic identification and medical information. Include contact information for yourselves as well as for family doctors, dentists, etc. Laminate this for durability. Parents should carry a copy of their children’s cards as well.
Each kit should have several family photos. You should include individual photos of each family member as well as a family group photo. Individual photos may be used to post if you are separated from a family member. A family photo can be used to prove a relationship if there is a question when you are reunited by emergency personnel.
Include extra sets of keys for any place you might need to access while on the move. Fumbling around, looking for the summer cabin key is not what you want to do in an emergency.
Maps of local area. Compass. Possibly binoculars. Useful information. One page sheets of information; right now, that includes identification of edible local plants (to supplement what I am learning to help me be CERTAIN), ways to make shelter from 8×8 tarp.
Food. This food should be light, and edible without added water, if possible. This is not the place to worry about processed foods. Consider MREs, high calorie energy bars, and possibly foods marketed towards backpackers and hikers (but again, avoid “just add water†meals if you can). Avoid jerky, nuts or other very salty items that will increase your thirst. Canned items are too heavy. Look for foods with a long shelf life – five years (or more). You can plan to rotate these items, but if you fail to rotate your supplies you will end up spending more money on food you throw away than you would have by spending a bit more to get the best items to start. One less thing to have to do for several years, if the food is rated longer. Don’t forget any utensils that you might need. I think disposable plastic might be best. You’ll need several sets, but will you have the water and ability to properly cleanse a metal set? Neither my husband or myself drink coffee, but I may consider a metal cup and some kind of hot drink packets, such as cocoa or cider; a warm drink, a change from plain water could be very comforting.
Water. This is going to be heavy, no way around that. Purchase pouched water that has a five year shelf life. First, that will allow you to “ignore†the BoB, and give you less to do every 6 months (as above). Plus, plastic water bottles do degrade over time and while the water itself won’t go bad, the bottles can develop leaks. Personal water filters such as a lifestraw or berkey water bottle may make a good addition. I plan to include a UV SteriPEN in my bags.
Light / Heat. A flashlight, glowstick, matches, Firestarter(s) and/ or lighter. Be aware that open flame might not be safe in some areas (ruptured gas lines, or so on). If you choose a flashlight, include the batteries OUTSIDE of your flashlight. Put them in a ziplock bag and carry them separate from the flashlight. Batteries can rust, leak, “explode†and ruin your flashlight. I think I will also tuck in a 9 hour candle in each bag.
Multi-Function Tool or pocket knife. These will provide everything from can openers to knife blade, pliers, saw blades and screw drivers. A must-have tool! When you purchase a multi-function tool look for one that has a sheath with a belt loop. It will be a great help to have your tool readily available as you deal with the aftermath of a disaster.
Emergency AM/FM radio. You might consider having one radio that can be operated with a hand crank or by solar power or both. Also make sure your radio has both AM and FM bands as most emergency broadcast information will be on the AM band but it may only be the FM station that survived the disaster. A moderately priced Sangean MMR-88 is a weather and alert radio. It can be charged with build in solar panel or handcrank, includes a flashlight, a siren, and can charge USB devices such as phones. Right now, this is my emergency radio of choice, not just for my 72 hour kit, but for my home as well.
First Aid. A small selection of emergency first aid items is a smart thing to include, even for the children’s’ packs (Avoid medications in the kids’ bags). Consider supplementing a basic store-bought kit with QuikClot. Sunscreen. N95 mask. Moleskin.
Hygiene & Sanitation. Camp Soap, toothbrush, travel sized toothpaste, chapstick, hand sanitizer, aloe vera gel or lotion and toilet paper. In my case, I decided to include Wysi Wipes in one pack instead of a roll of TP. These do require adding a small of water to expand, but take up less room than rolls of TP. They are biodegradable and disposable, but CAN be rinsed and re-used. Obviously, I wouldn’t be reusing them if they were used for restroom purposes (!), but when used as an alternative to pre-moistened toilets, facial tissue and paper towels, if water is available, re-using stretches our resources.
Clothing. I’m not talking about stocking up for a weekend at a spa or such. A change of clothes in case what we are wearing becomes too wet to be comfortable or safe. Extra socks. Lightweight work gloves. Hat for protection from sun or rain. A rain jacket / wind breaker. A couple bandanas.
Self-Defense. I am lacking here at the moment. We do not own any firearms. Im likely to be as dangerous to myself as someone else with a combat knife. This is an area of deficiency that I do need to address.
Shelter and Rest. A Mylar Blanket is inexpensive and has several uses. They have both pros and cons, but for the light weight and flexibility in their use, I plan to include at least one in each BoB. If I have space, I would also like to include a more heavy-duty tarp, as the Mylar blankets are subject to tearing as well as a sturdier emergency blanket.
Extras
Mini Sewing Kit
Ziploc or Biohazard Bags – If we are someplace that we cannot safely discard used toilet tissue, etc., bagging them up makes sense.
Paracord and/or Fishing Line. Multitude of uses.
Whistle & Signal Mirror.
Duct Tape. Is there anything it can’t do?
Fozzils “dishesâ€. These are flat, foldable tableware. The 3 piece set weighs only a few ounces, and can be used as intended, or for perhaps catching some water from rain or a condensation run off.
Cash.
Small Notepad and Pencil.
Lastly, I am considering adding an ultra lightweight backpackers 2 person tent in each adult bag, rather than trying to hunker down under a tarp shelter.
Note: I do have an EDC which includes emergency survival cards, an altoids tin with small handibits (like safety pins, fish hooks a small Firestarter), a credit card Fresnel lens, and such.
Some good advice from Graywolfsurvival on creating a bug out bag:
To Do:
- Start with a weight goal limit.
- Lay out all the stuff you have in your bug out gear.
- Organize everything by its use. Some things will have multiple uses.
- List everything in a spreadsheet that you can put a mark on different uses, along with each item’s weight. The categories will depend on exactly what you have and how you want to organize it. Here’s one way to do it:
- Cargo
- Cutting
- Fire
- Water
- Shelter/Clothing
- Food Prep
- Food Acquisition
- Signal/Communication
- Light
- Medical
- Navigation
- Tools/Construction
- Hygiene
- Power
- Offense/Defense
- Fill in the missing pieces that you need to make sure you have adequate backups.
- Weigh each and every thing you have in your pack.
- Look at how far off you are with your weight goal and start removing items.
- Go back to #2 above; rinse and repeat.
Having a weight goal really helps you focus on what you really need and what you don’t.