… little bit of this, little bit of that, a whole lotta about the kids

Category Archives: Kidlet & Baby L

My Bean finished her second year of Daisy Girl Scouts this past year.  She’ll be entering second grade in the fall and that means bridging to Brownies.  Although not officially transitioned, I did want to do some girl scout events this summer, so I planned on doing the bug badge from the Brownies Guide to Girl Scouting.  I invited our 6 brownies to participate and planned for 6 hours on a lazy summer day in August.  Of course I am not one to do the actual suggested activities in the book.  I’m more ambitious (HAH!) and too addicted to Pinterest for that.

Like all badges (or “Try-Its”), it has 5 steps, and each step has 3 suggested activities for completing that step.   In addition to what I planned for each step, we had caterpillars that were in the process of forming their crysallides (just luck) as well as empty ones from earlier hatching under a magnifier, Painted Lady Butterflies (which we released), Ladybug Larvae, Darkling Beetles (raised from meal worms that came home with my daughter from school in June at the end of their insect unit) and a mess of ladybugs from a local nursery; each girl got to take home a bunch in bug jars that we made later.
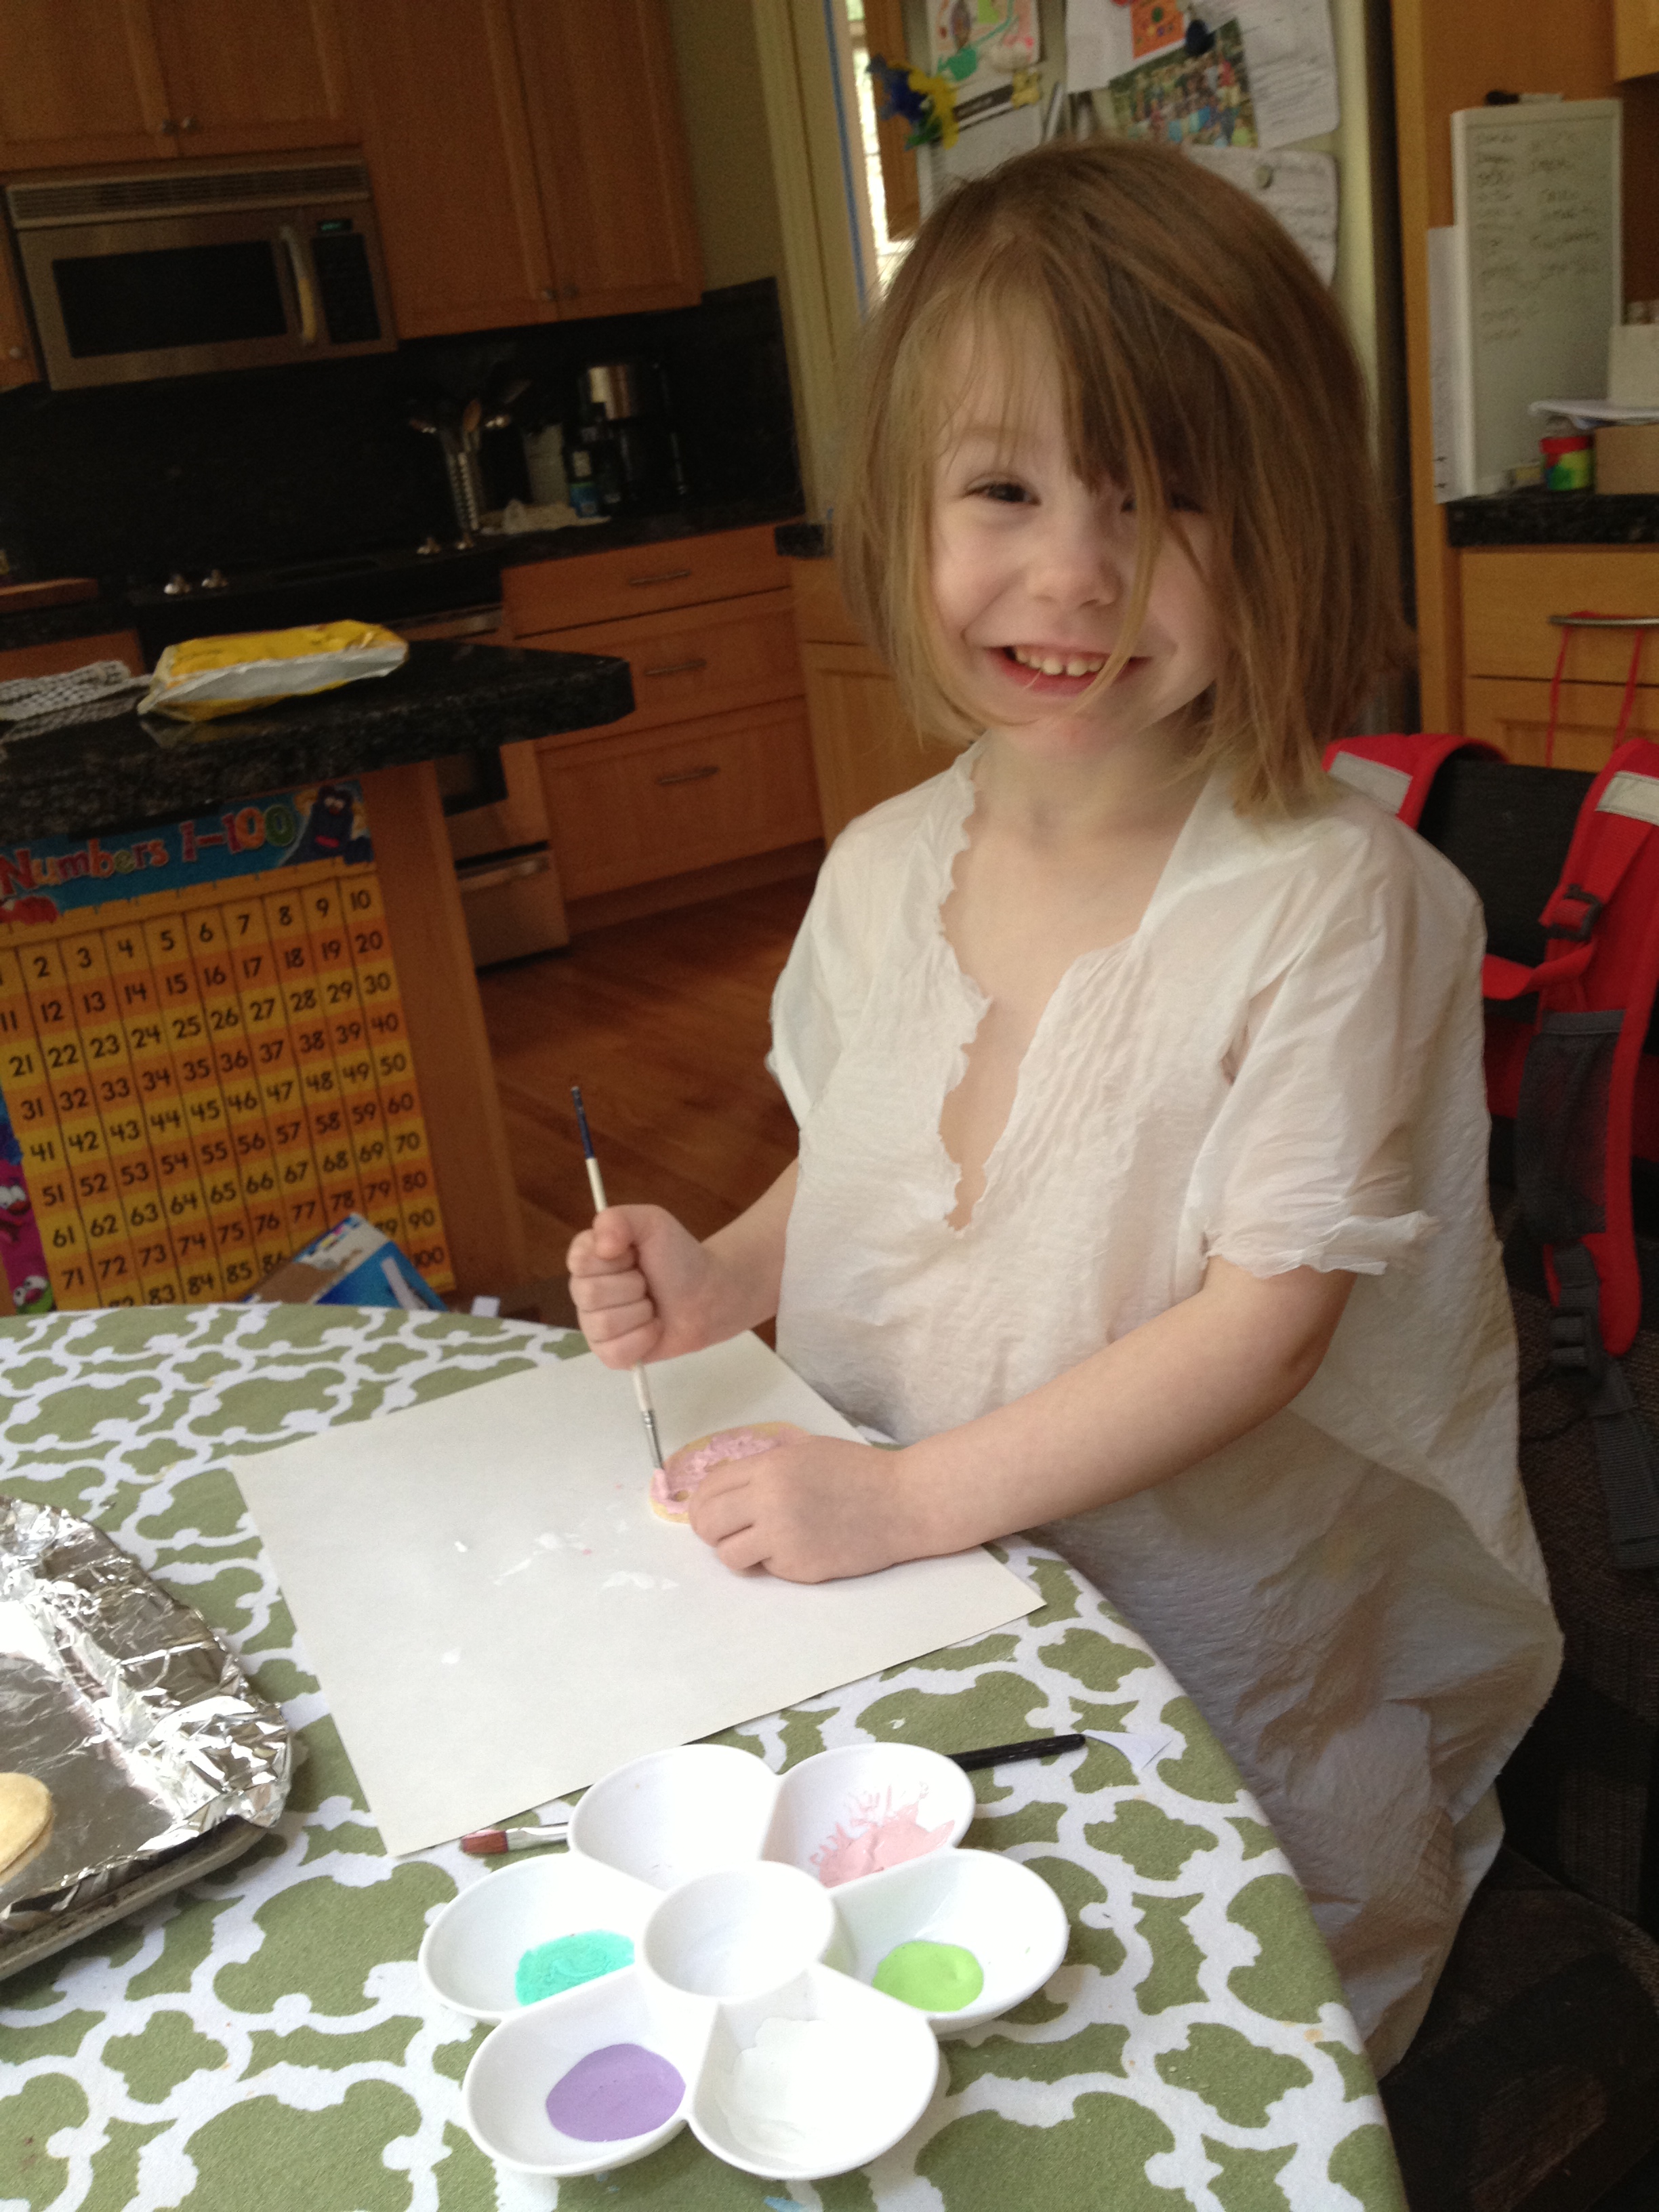
Draw a bug poster

I had a bunch of library books on various insects, iPads with some apps for research, a couple of videos (DK Insect and Bill Nye Bug Episode — we didn’t have time to watch the videos really, but I let them run while we worked on our posters)

Along with their paper for posters, I provided a bunch of craft supplies.  Different coloring supplies (Markers, colored pencils, solid poster paints), stickers, scrap scrapbook paper and glues, bug stamps and bug rubbing plates.

For the fast finishers I had a “Create your own insect” sheet and a Buggy mini book they could assemble.
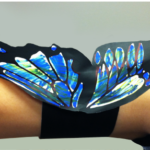
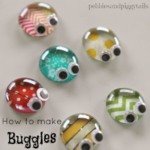
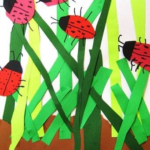
Try a bug craft

We made refrigerator magnet “Buggles” from those flattened marble craft stone things, Wristlet Butterflies, and Ladybug Collages.

See bugs in action

We made Bug Jars. Oriental Trading has reasonably priced, plastic & foam kits.

bug jars

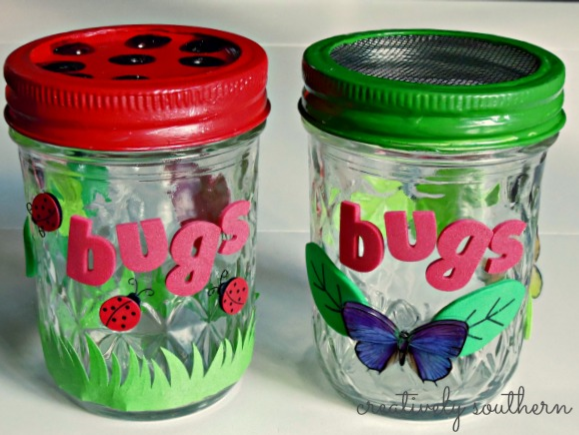
I soaked some raisins in water until nice and plump.  We put a little oatmeal in the jars, added a raisin or two, then a couple dozen ladybugs for each girl to take home and release in their yards.  I told them that they could keep them a day or two to observe and enjoy, but after that they should release the bugs.

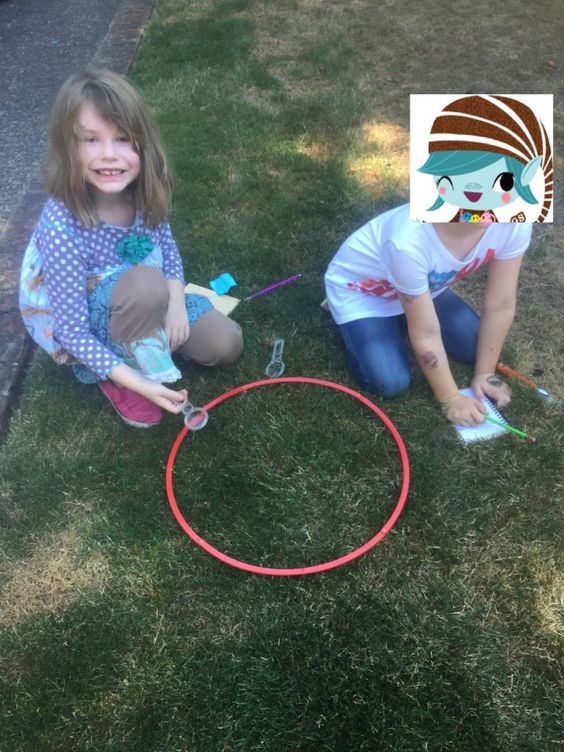
We took a look at One Small Square: Backyard (I love the One Small Square books). I gave the girls spiral journals and pencils (for them to keep as nature journals later as well) to record their finding and we went on a backyard bug safari. They had some plastic rings (from a Venn Diagram kit) to define an area to search and magnifying glasses.  We tried several different locations.  It was HOT and we didn’t find nearly as many bugs as we would have liked; I think they were all hiding from the heat – but we did find an ant trail, and the girls all found several other things they could record.

bugsafari

Explore bug homes

bughotel
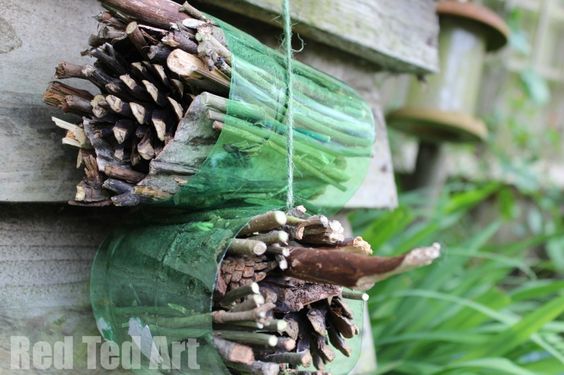
First we took a look at the chrysalis’ that I had saved and we talked about the places that bugs live, and what bugs would need to make a place their home.  We did this step last, because we needed supplies from our bug field trip (step 5), but we made insect hotels for the girls to take home and set up some place in their yard in the hopes of providing habitat for bugs. (So we talked about insect homes, then went for our forest safari to see if we could find some as well as collect cones and sticks for the hotels).

In addition to the collected materials, I also supplied various types of mason bee tubes and moss to make sure that we had enough supplies to fill the bottles without stuff easily falling out.

Take a bug field trip

rottenInitially I thought we would visit an insect zoo.  The Oregon Zoo does typically have a neat insect exhibit.  However, it is temporarily closed while the new zoo education center undergoes construction, and won’t re-open until 2017, so I had to scratch that as our field trip.

Instead, we took a Bug Hike, out into the untamed forested area up the hill behind my home, along with a minibeast spotting sheet (which we did as a group, not as individuals), large paper bags, garden gloves, our magnifying glasses, our nature notebooks and pencils for our Bug Hike.

I had previously scoped out a fallen log for us to investigate, and we collected a bunch of pine cones, twigs and other detritus for our bug hotels.

We didn’t have much more luck with the bug finding, outside the log, even though it was moderately cooler in the woods.

In between the various activities, the girls wanted short breaks and did some playing.

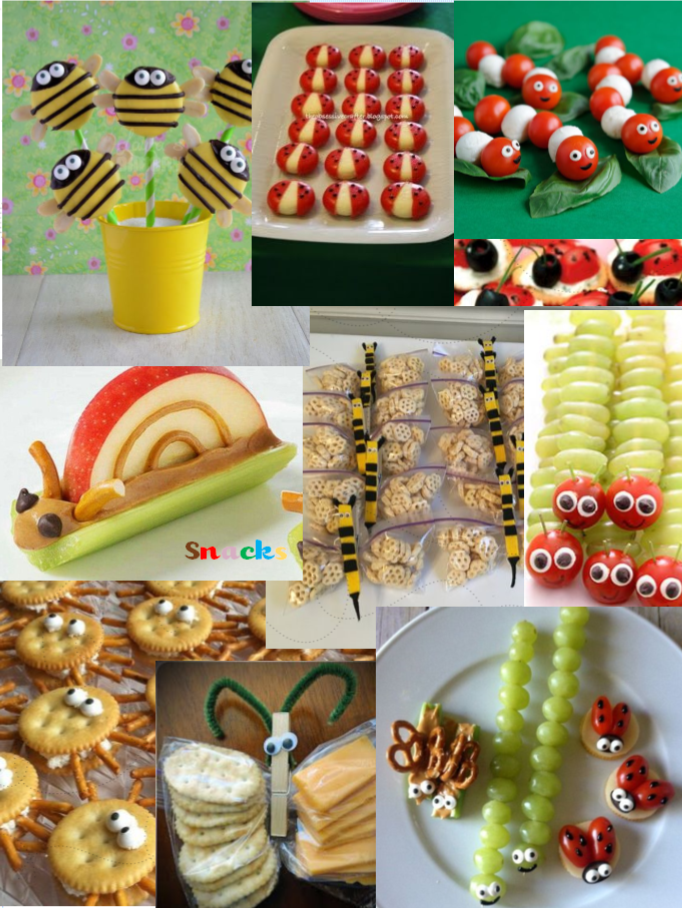
I also planned on lunch and snacks:  Sandwiches (cut with Insect shaped cutters), Ants on a log, Honeycomb cereal Bee Bags, Mozzarella & Tomato Caprese Caterpillars, Cheese & Cracker Bugs, Ladybugs on Crackers, Grape Caterpillars, Bee Oreo Pops, Boom-Chicka Pop Kettle Corn, Fresh Lemonade, Watermelon Agua Fresca.  Girls were with me from 10-4, so we had a small snack available when they arrived, lunch at noonish, and then another snack break a couple hours later.  We had re-hydration breaks everytime we came back in from an outside activity too.  As I mentioned before it was HOT HOT HOT! =)

snacks

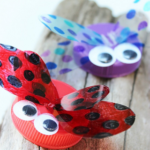
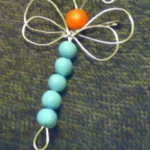
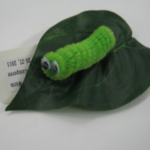
And finally, I had supplies for SWAPS if the girls wanted to make them.  Most of the brownies elected to hang out and play with Bean’s toys, but the option was there.  Lid bugs, wire and bead butterflies, and Hermie the Worm (I know this is not technically a “Bug” but the Try-It allows the girls to count most mini beasts as such).

When it was time to leave, the girls left with all their crafts, their insect hotels, badges, journals, small magnifying glasses, swaps, a couple of informational sheets about gardening to attract pollinators, and I hope a great time and additional knowledge about bugs =)

I had put everything into a document.  Step by Step with needed supplies for the crafts we chose.  I never really intended to share this document, and I didn’t cite my sources for the various crafts and such in there.  I in no means am trying to take credit as the originator of much of the information; Mostly I just collated and organized.  There’s a lot more in the Bug Try-It PDF than I actually ended up using.


Mrs. Snodgrass, my sons third grade teacher, is amazing. She’s a wonderful person, as well as an inspiring teacher. Although my son is now in 4th grade, I still volunteer in her classroom every week. I am devastated that she retires this year and Laurel will never have the chance to experience Mrs. Snodgrass’ classroom.  I could go on for paragraphs about her, but ATM I am posting from my phone and will refrain as typing is a pain 😉

This is a St. Patricks day activity she does with her 3rd graders.

You’ll need:

A leprechaun template, ours is about 8-9″ tall and 4-5″ wide

Thin cardboard

Hole Punch

Glue stick

Scissors

Long piece of yarn, ours is about 4-5′ long

3″ piece masking tape

A penny

Crayons, Markers or colored pencils to decorate your leprechaun

image

Have your child color the leprechaun as desired. Glue to a thin piece if cardboard or stuff paper such as a file folder or heavy card stock. Cut away excess cardboard. (You could print the leprechaun directly onto the heavy cardstock if desired).

Punch a hole on each side of the leprechaun, about midway, making sure the holes are directly across from each other. Punch a third hole at the bottom of the leprechaun, in the center.

Now fold your string in half; one side is the “looped” end, the other is the “strings” end.

Push the looped end through one side hole from the decorated side to the back side.

Pass it across the back of the leprechaun and push it up through the other side hole.

Thread the strings side through the looped end.

Pass the strings end through the bottom hole.

Tape the penny to the strings end, securing both ends to the penny so the string is now basically a complete loop with the penny attached.

The challenge to your child — can you find the leprechauns trick and remove the string from the leprechaun, keeping both string and leprechaun intact? No scissors, tearing, or removing the penny!


My daughter does not like to write.  Or color.  Or do anything that really works her hands in a way to prepare her for writing in kindergarten.  Oh, she will use markers occasionally, probably because they are so much easier to make marks with than pencil or crayons, but even that is a struggle.  It’s not really a fine motor issue; she can handle other fine motor tasks just fine.  Caterpillar Scramble, given to us by Aunt Julie several years back when I was working with Kidlets fine motor issues (now due to the Asperger’s though at the time, we didn’t know that!), is no sweat for Lil L.  She can thread pony beads endlessly.  And so on.  But still doesn’t want to color at a restaurant, or balks at writing anything at home.

So, I have been coming up with ways to encourage her to use those muscles and build her writing endurance, without it seeming to be work.  She asked for corn on the cob for dinner, for instance, so I had her write it on the shopping list.  She likes to make up stories, so I made some mini books to record them; she does like to see her stories in book form so she can show them off to folks.  I also try to instigate art projects that will encourage her to need to pick up a crayon or pencil.

It hasn’t seemed to make any difference yet, but we’ll keep working on it.

Last night we were working with sharpies on foil, some form of which you’ve probably seen. It’s all over Pinterest in various forms.

1622885_845656165459963_674998359_n

Devious as she is, Lil L even managed to bypass holding the sharpie after a couple of triangles, instead using paintbrush and fingers to add glitter glue to the foil.  My girl, she loves herself some bling 😉

1798784_845656205459959_507516742_n

.


Our PTA lego night last night was a success!  We had 230-250 attendees, which is the biggest turnout ever for our small school of about 320 students in 250 families.  Besides a boatload of Legos for free play, Little Engineers came with a few stations with robots, etc. We offered substantial refreshments for working families that might not have time to have dinner first, and drawings for lego sets.

image

This is the gallery of mini-fig designs submitted by some of our students. 🙂


Mark Rothko is an abstract expressionist, specifically known as the pioneer of color field painting.  He was chosen to represent abstract expressionists for our lesson because he spent a number of years here in Portland, OR, and some of his work is on display in the Portland Art Museum.

rothko

I had the classes of 4th graders choose a random emotion from a sack, and then write a line or two about what the emotion feels like.  Then they had to choose colors to represent the emotion and feeling.  We used bleeding art tissue paper on watercolor paper, and a tiny bit of water with foam brushes.

The colors aren’t as vibrant as they would be with paints, nor could we really work with shades and tints which I would have liked to do, but our fourth grade classrooms do not have any sinks and using actual paints in those rooms is a real challenge (I brought water in a pitcher with little Dixie cups to wet the tissue paper).  I’ve had to improvise with chalks, and pastels and now the tissue paper, even when other grades are using paint.

This was a challenging lesson for these 9-10 year olds.  The concrete operational stage of development from 7-11 or so is a period where children begin thinking logically about concrete events, but have difficulty understanding abstract or hypothetical concepts.

Still, the kids did seem to enjoy the art project, and the teachers both seemed pleased with the lesson and the students response to it.


Little LE is exactly one month away from turning 4.   I am convinced that she is gifted.  In its own way, its as challenging raising my little LE as it is raising a child with Asperger’s.  Right now, I am faced with the challenge of perfectionism.  Her brain processing power is ahead of her fine motor skills.  She knows the way she wants something to look, the way it “should” look.  When she is unable to match it in reality, she gets very upset.  Temper tantrum, scribbling all over her art / note, crying upset. She is heart-breakingly hard on herself.

033

Moments after drawing this person, she drew a big X from corner to corner to corner because “her stripes and dot dress is wrong”.  At her age, the “average” kid is still making “tadpoles”, with legs sprouting from the head.  The emergence of a torso is a 5-6 year old skill, with making the trunk longer than it is wide an even later milestone.  I’m just amazed at her precocious ability (she scores around 6 years, 3 months on the Goodenough Draw a Person Test), and she is freaking out and destroying it because its “wrong”.

It does no good to tell her that it is all right, or that it is perfect just the way it is.  She *knows* it isn’t (in her mind), and she just gets more upset.   We’ve read Beautiful Oops more than a few times.  In moments of calm “rationality”, we’ll talk about art, and how there really are no mistakes in art.  How she is only three and she is still learning to use her hands, and it’s ok if the 2 points of a “w” don’t line up exactly right now (or whatever). I’ve tried to model making mistakes and different coping skills.  I try to acknowledge the work that went into something, rather than just praising the result.  I’m not entirely sure what else to do.


Over the last year or so, light tables have been a big deal in the momma blogger / homeschool scene.   It’s funny because we’ve been playing with light a very long time, although certainly not with a fancy, big table.  I have a very old LightTracer box picked up years and years ago for tracing images for scrapping.  It is not as versatile as the ones I have seen out there in blogland.  I wouldn’t want to bring in anything wet or messy on it.    We’ve played with see through pony beads and petri dishes, translucent geo tiles, layering tissue paper,  and those multi colored flat vase filler marbles.   As overhead projectors become a thing of the past due to document cameras and smart boards, etc, I keep an eye on the clearance section of educational supply web sites.  I’ve picked up a bunch of accessories designed for the overhead for rock bottom prices — dominos, word tiles, base 10 pieces, and so on.

Today Little LE was making sentences with a word tiles.  At 46 months she is recognizing about 2 dozen words (family names, some basic sight words, and some CVC words like cat, sun, etc), but most of the words were unfamiliar.  She’d put together a “sentence” and then have me read it and laugh at its silliness.

003


We’ve been doing a fair amount of salt dough creation.  Right now we are working on an Easter egg tree.  We made salt dough eggs, and have painted them a base color.  We’ll be adding accents later.  Kidlet and I will be exploring glass etching to decorate the vase we are using to hold the twig “tree”.

iphone 33 074


One of the things that Kidlet struggles with is handwriting (which I know I’ve been mentioning for years!).  The fact is that he has some motor skill issues (not uncommon with aspergers), and its not entirely in his control (although he absolutely will not hold the pencil correctly; I’ve tried so many different pencil grips, and the Flip the Pencil Trick, and grip tools, and the Y shaped pencils from penagain – nothing helps).

The trouble really comes in that it is hard work for him to get the letters even remotely legible, and he knows that it still isn’t very neat, and he gets so frustrated that he can’t make the letters look like he knows they should, even though he is already taking much longer to write than his classmates (when he tries.  Frequently he just gives up trying to make it look good, and has a chicken scratch only a mother can read =().  Writing time can become melt-down time, pretty quickly. (They just started learning cursive too, a nightmare, but that’s another issue ;))

So, it is with some annoyance that twice a week I have to make my kid sit down and do 2 pages of spelling homework.  His school uses Scott Foresman Reading Street, and on Monday they take a pre-test of 12 normal words and 3 priority (sight/dolce) words.  There is a second list of 15 words (“challenge words”); so if a child gets one of the pre-test words correct, they don’t study that word, instead they study the first word in the challenge word list, and so on.  With few exceptions, Kidlet rarely misses any words on the pre-test, so his post-test on Friday will consist of almost all challenge words.

A sheet like this comes home each week with the words circled that Kidlet needs to study.  (The errors in capitalization are mine.  waterproof and evaporation aren’t capitalized on the actual weekly sheet, but my app “auto-corrected” them for me, oops).

BUT, the homework is photocopied from a SF spelling practice book, so the 4 pages a week of spelling homework are on the first 12 words of the 30 (sometimes it includes the first 3 challenge words, but not always).  The 12 words my kid almost never needs to study.  Can you guess how well it goes over that he has to do the dreaded writing to “study” words that he doesn’t need to study?

So we come up with different solutions for practicing the words that he “needs” to study (tbh, he generally only gets 4-5 words that he actually doesn’t know how to spell, even when its all “challenge words” ;)).  I’ll have him use a set of alphabet stamps to spell his words, or type them on the computer using different fun fonts. Sometimes I will pull out the gel bag (ziploc bag with cheap hair gel, food coloring and glitter) and have him draw the letters in that. I will have him use the words in sentences, the sillier the better (typed up ont he computer of course). Some days I let him give me the spelling test, and he has to correct it.  We’ll use magnet letters or scrabble tiles, or do oral spelling bees.  We’ll twist pipe cleaners into letter shapes to spell the words. I try to be creative and come up with different things each week.

On days where I know that I am volunteering first thing in the morning, and I will be the one pulling and correcting the homework (the teacher only keeps track of IF they did it, now how they scored on it), I don’t even make him suffer through those worksheets.  (don’t judge!)  However, even on days where Lil L is headed to child care, I sometimes have trouble getting the kids out of the house early enough to drop her off first.  I have to take Kidlet in, then take Lil L to KinderCare, and then come back to Kidlet’s school to volunteer.  So I present the homework most days, even if I *think* that I’ll be the one checking it in.


Lil L is 32 months.  Kidlet just turned 8.

A Few of Lil L’s recent activities.  You can see her poor scraggly hair a bit in some of these.  My daughter inherited *my* hair, which means its very thin, very fine, and tangles if you breathe on it.  This is no exaggeration.  No amount of leave in conditioner, de-tangling spray, etc does any good.  We get giant clumps of rats nest hair, and combing it is a NIGHTMARE.  She tends to have greasy looking hair around the house, because I saturate it in conditioner and let it just sit on the head in the hopes that just maybe THIS time it will make a difference.  (it doesn’t =0)

Playdough mats (L for her name, although she can spell it now)

I bought this button art on a super sale for Christmas 2010, but had it put up until she could actually use it.  We pulled it out a few months ago, and she loves snapping the buttons in place.  She often wants to use it without one of the included patterns, but this time was using them.  She decided that she wanted her boat to have eyes, color coding on the picture mat notwithstanding.

Making sculptures from Crayola Model Magic, buttons, tiny letter dice (from inside mini boggle games from Oriental Trading that were 50% off since they were “less than perfect” which doesn’t matter for this!).  She did her name first without assistance, then asked how to spell mommy, daddy and her brothers name, then she found the letters on the dice and pushed them in.

Showing off her “P” work.

While mommy and kidlet were dyeing some rice  (below) for a later project, she is playing with a sensory bin (mainly a mix of brown and wild rices that I had bought in bulk and everyone in our family hated it the one time I made it) with measuring cups, containers, and funnels.  The bin WAS full when she started; throwing the rice about is so much fun.

We used gel food coloring (since that is what I had on hand) and a bit of rubbing alcohol.  I don’t know what purpose that serves exactly, but we were happy with the vibrant colors that came out of it.

Kidlet has been working on idioms.  That is a tough one when you have asperger’s.  I had seen a display of idiom worksheets onpinterest (can’t find that link now to credit them).  But they didn’t share the sheet they used, just the image of finished results, so I created one.

We have done a few of them (ants in your pants, let the cat out of the bag), which I meant to show here, but didn’t get them scanned.  I put the idiom in at the top, and then have him draw what he thinks it would look like if it meant exactly what it said.  Then we talk about what it really means, and add the definition and use.  Then I have him write a sentence using the idiom.